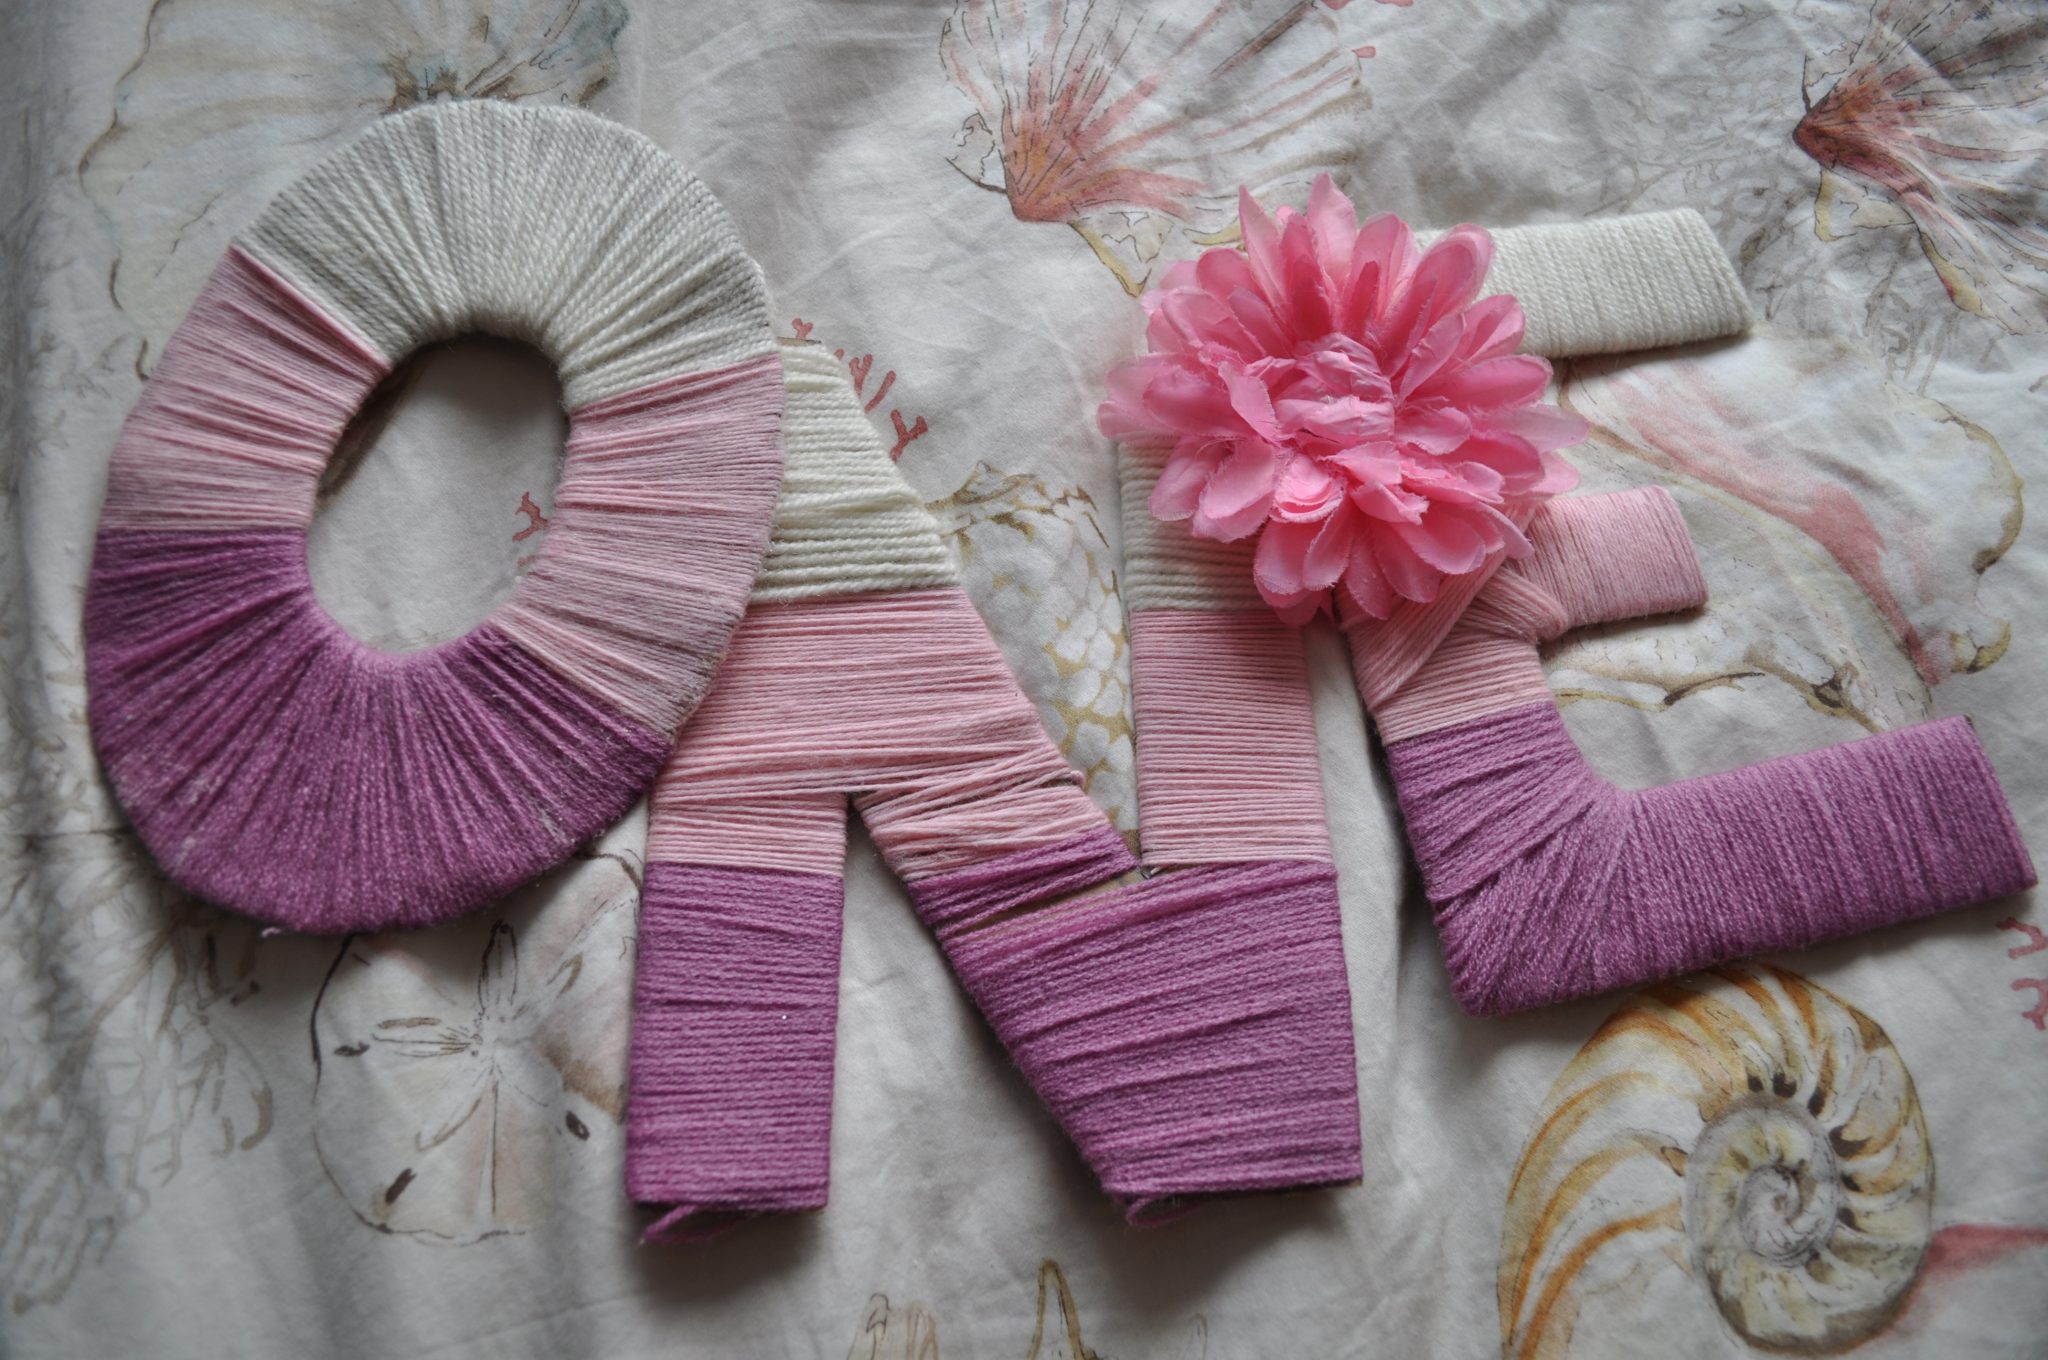
A few days before my little bean turned one this last week, a friend and I combined creative forces to tackle a DIY project we found on Pinterest that was just what my friend was looking for. As both of our babes would be turning one, we wanted to take some special photos to mark their (and our) accomplishment of making it out of the first year alive, happy, and healthy, and having grown so much! What better way than a series of three pictures – each with a letter – to be put together, spelling “ONE”.
The project we embarked on was simple enough, once we had a clear vision of how to make the letters “O”, “N” and “E” out of cardboard I had planned to recycle and yarn from my massive crafting collection. Although I didn’t take any pictures of the steps, they are simple enough to recreate using your mind power.
First, we drew out the letters on the thick cardboard, and cut them out with scissors. After the colours of yarn were chosen, we worked on wrapping the yarn around each part of the letters to cover them in soft, pastelly beauty.
When we came to the corners of each letter’s shape, we realized the yarn wrapping would have to break away from our very consistent and even wrapping to properly cover all the parts. If you try, you’ll quickly see what I mean. Once we got past the fact that the yarn wouldn’t be completely and perfectly even, we embraced the home-made look of the finished letters and decided the small variations wouldn’t even make a difference in the overall pictures.


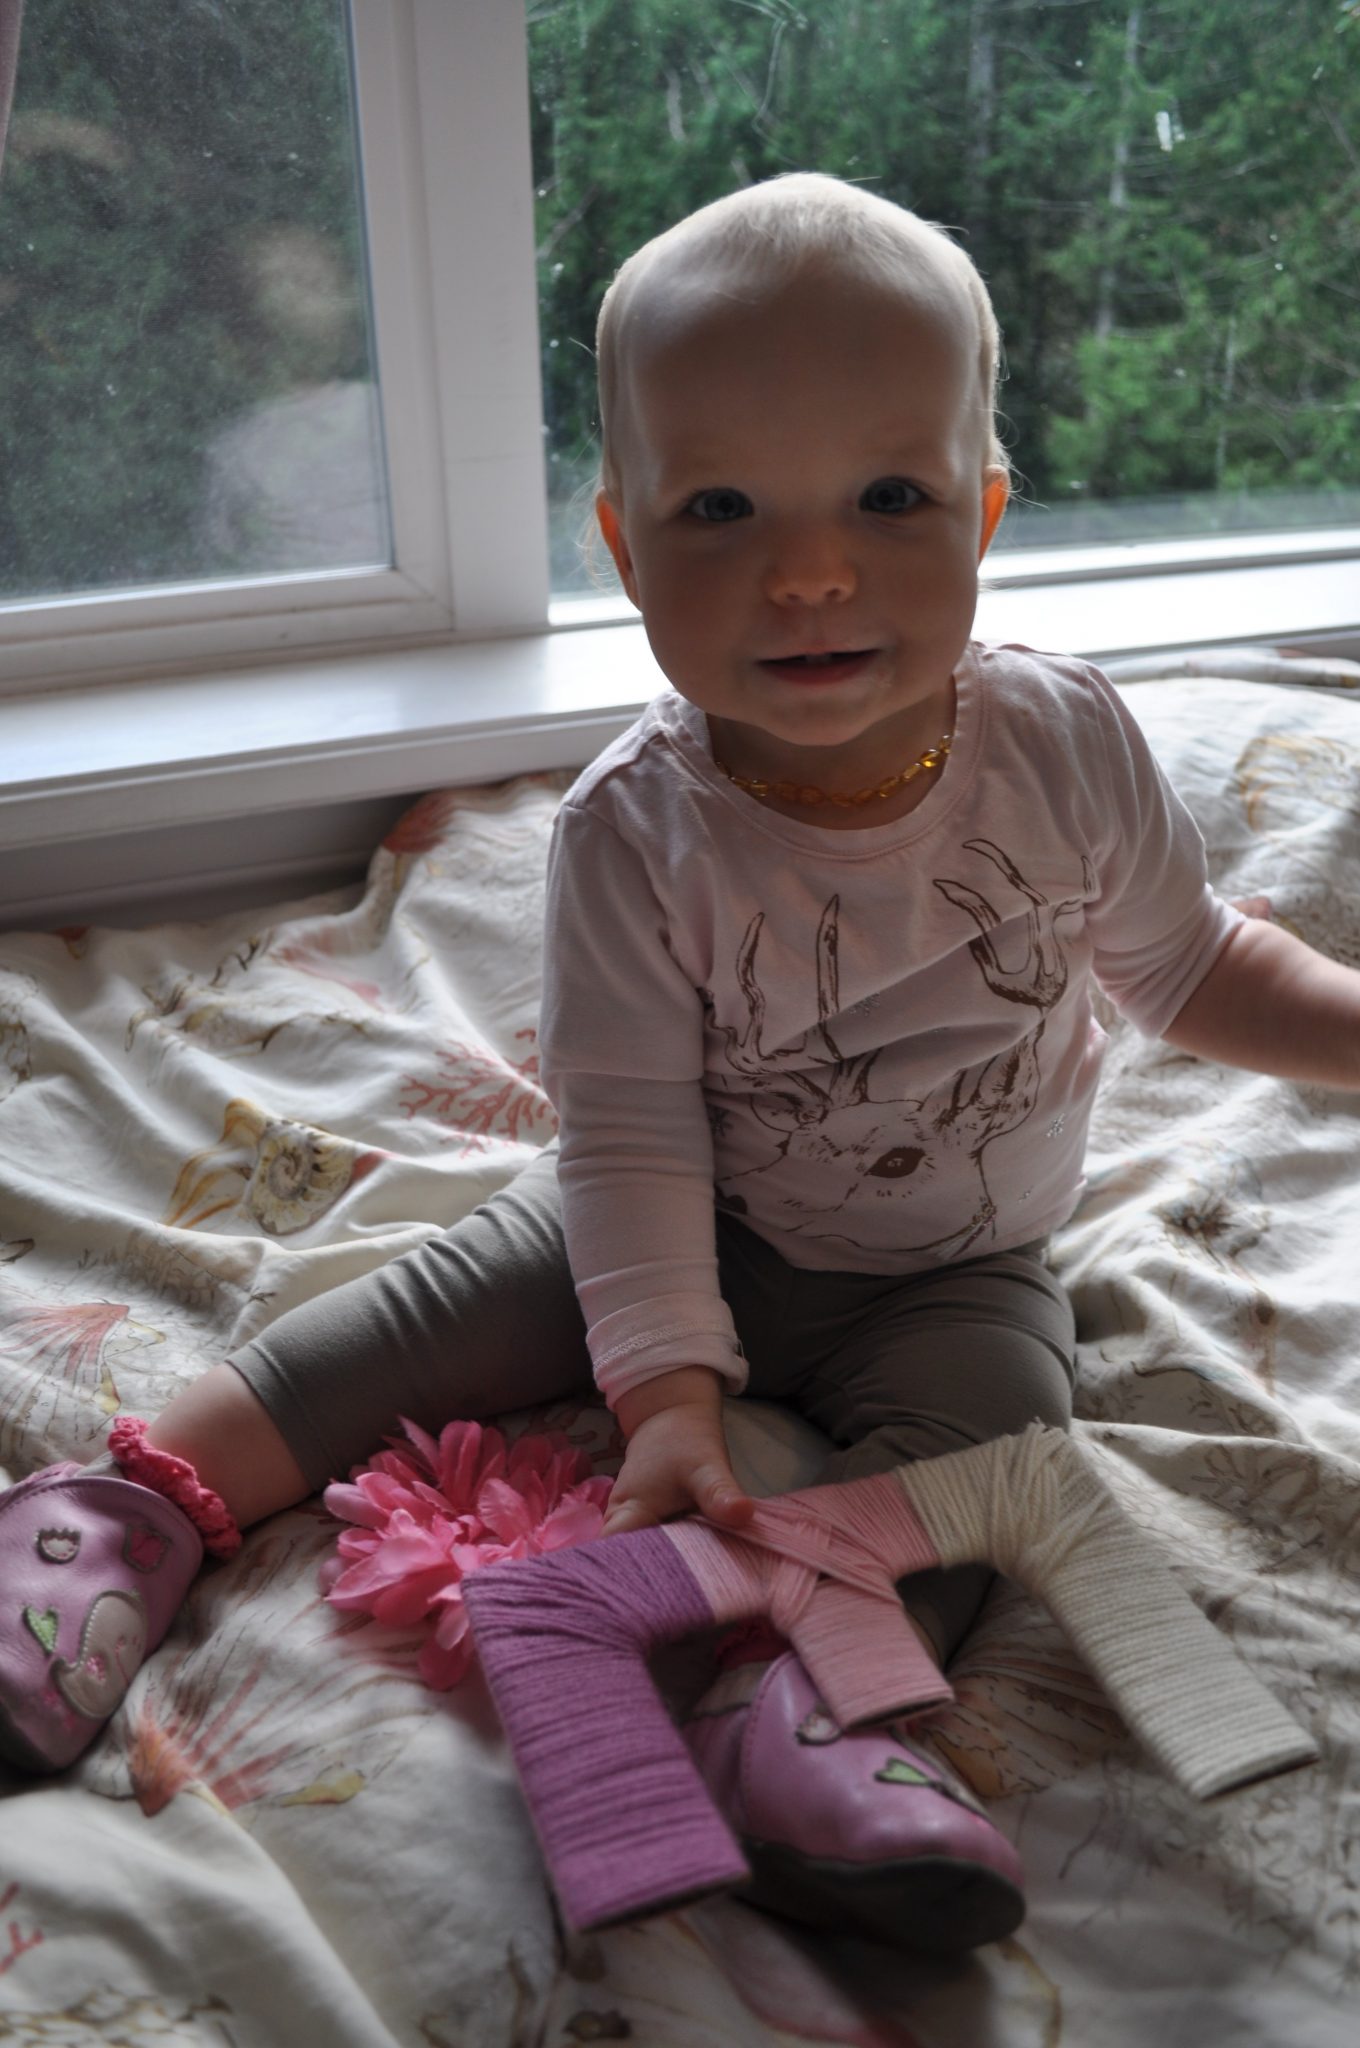
We used one of my daughter’s giant flower hair clips to fancy up the letters for the photos. It made quite a nice touch. Don’t worry, she didn’t miss it as her hair is still slowly growing in and needs no clippage at this point.
One tip I would pass on for anyone attempting a similar project is to choose the yarn with care. Unfamiliar with the task at hand, some of the yarn we chose was quite thin, and therefore made for a long, slow job of wrapping some of those parts of the letters. Next time, I would definitely opt for a chunkier yarn to make this a faster process.
You’ll notice we chose three different coloured yarns, to create an “ombre” effect, like in the original Pinterest image we drew from.
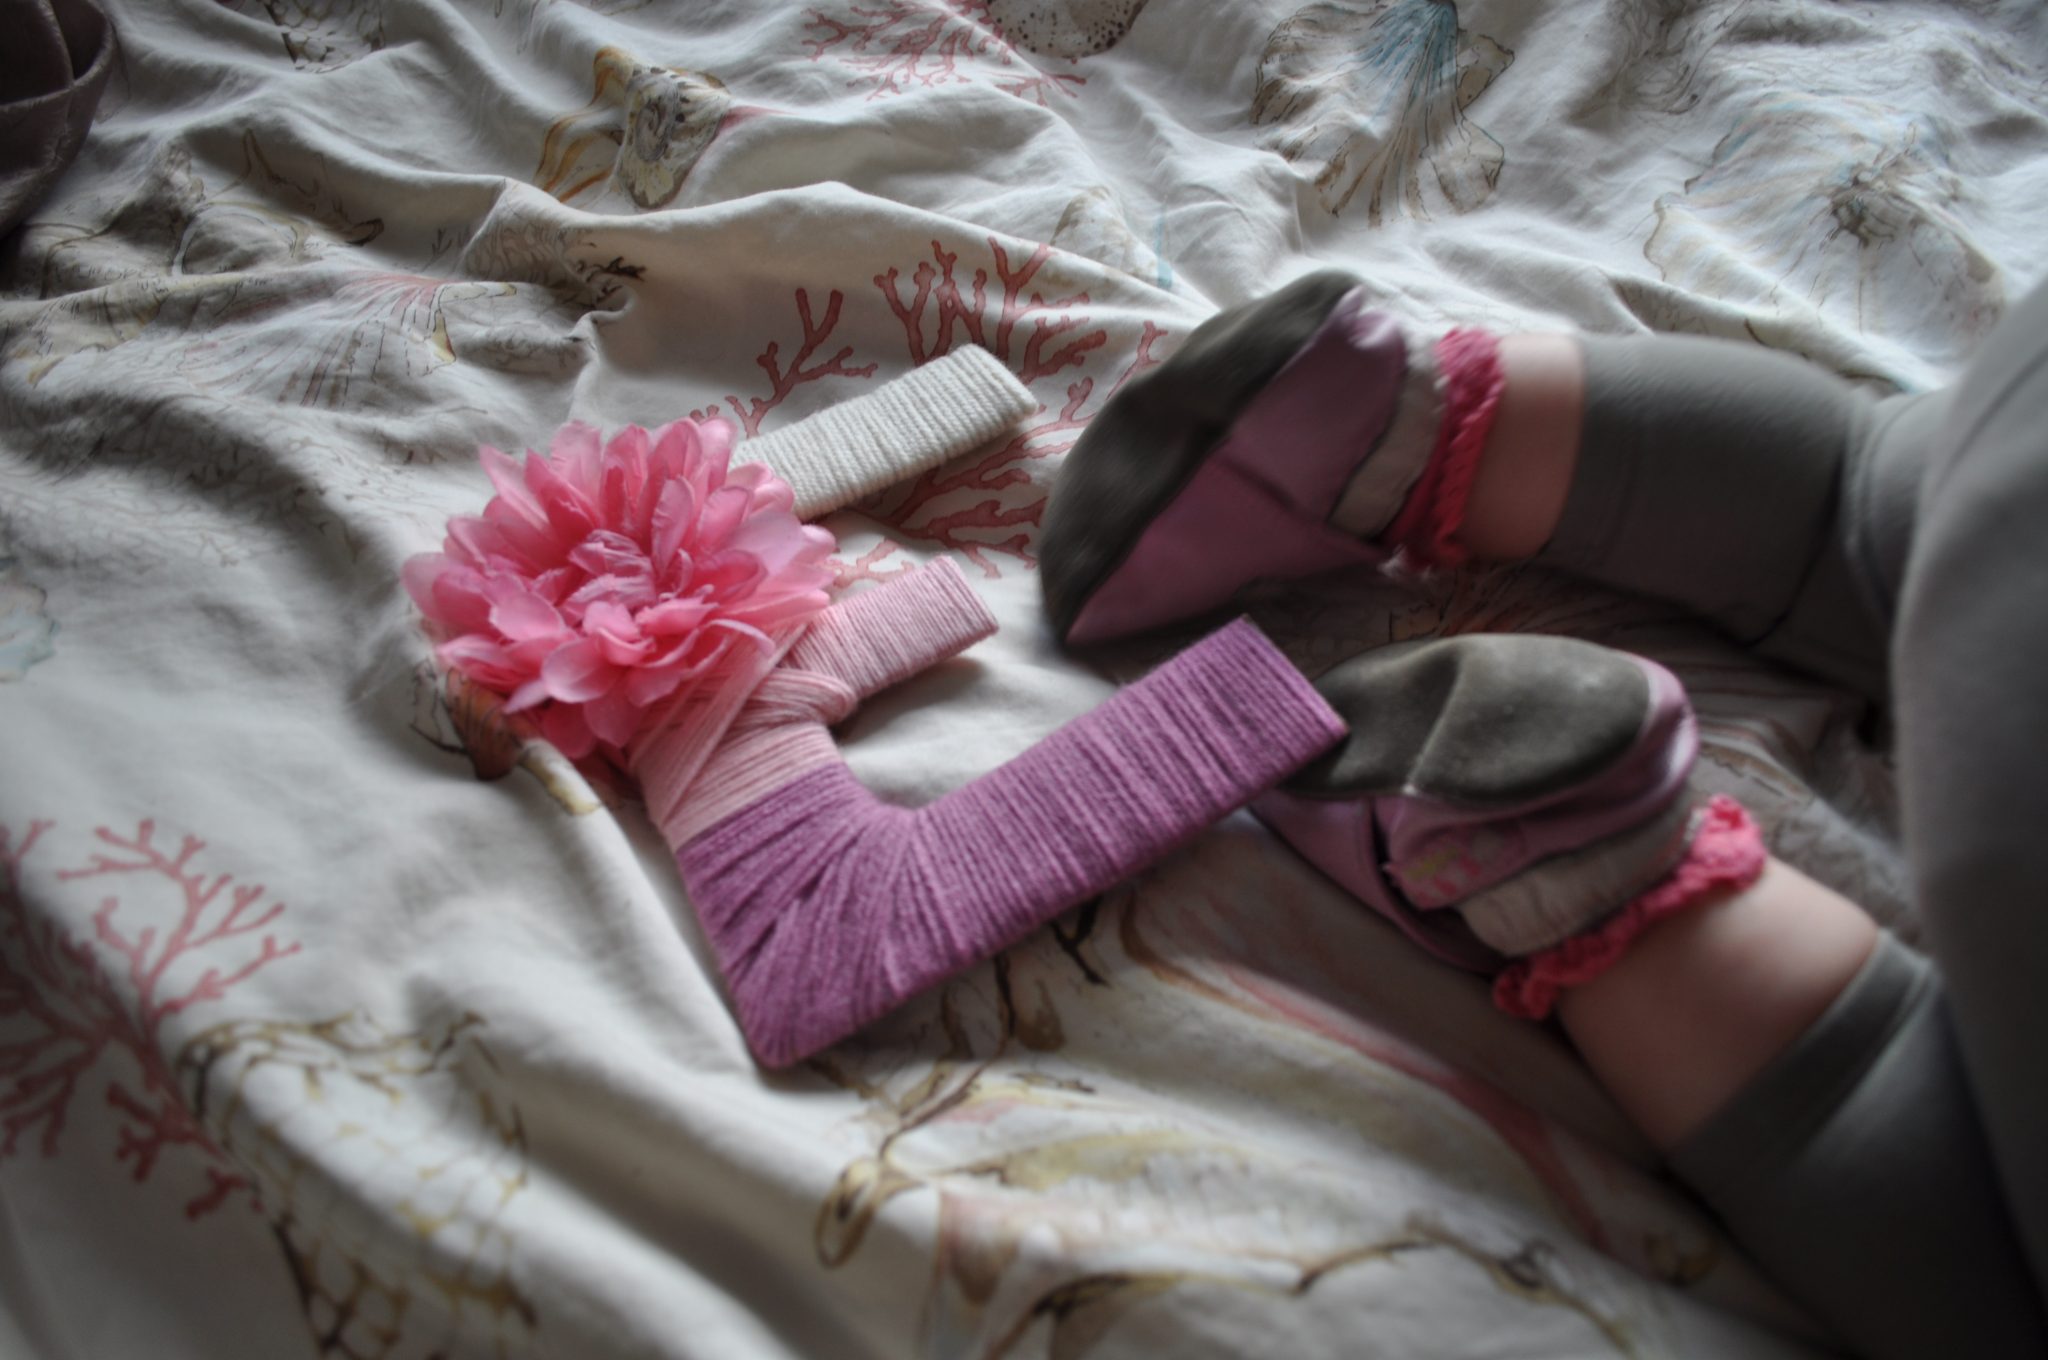
I’m happy with how the letters turned out. Super cute, effective, and not too much hassle. How often does a Pinterest re-creation actually turn out successful, let alone like the original photo? In my experience, it’s pretty rare. The hardest part for me was getting munchkin to sit still long enough to take a decent picture – note the little rascally feet crawling away in this photo.
Did you or are you planning any special photo opportunities for your little ones’ special occasions? What kind of props have you/would you use, if any at all? Let me know your ideas, failures and successes in the comments below!