
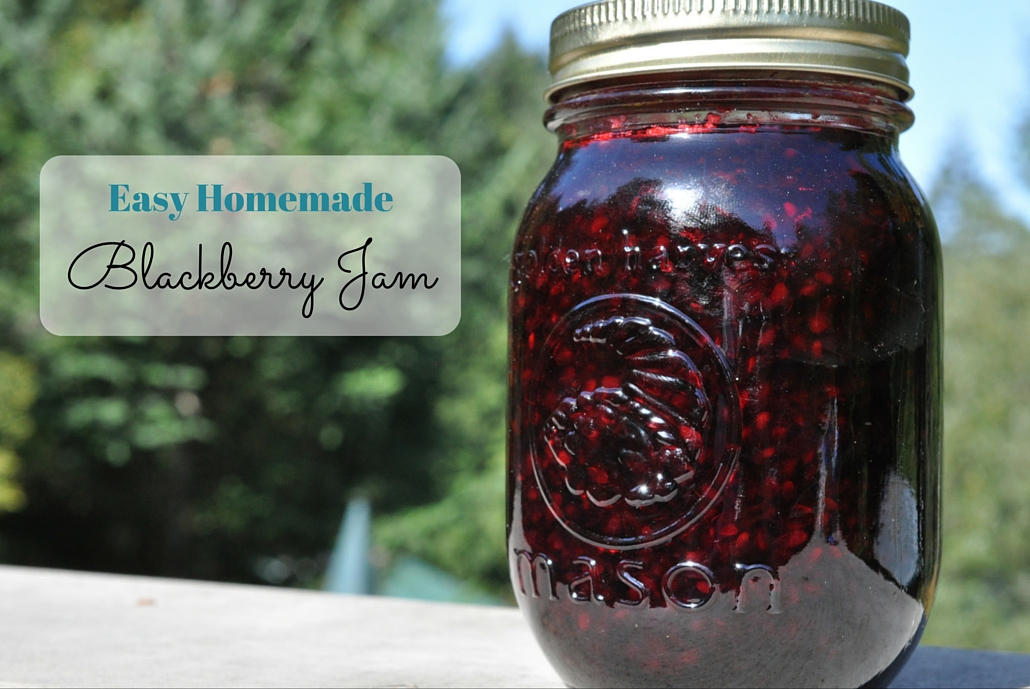
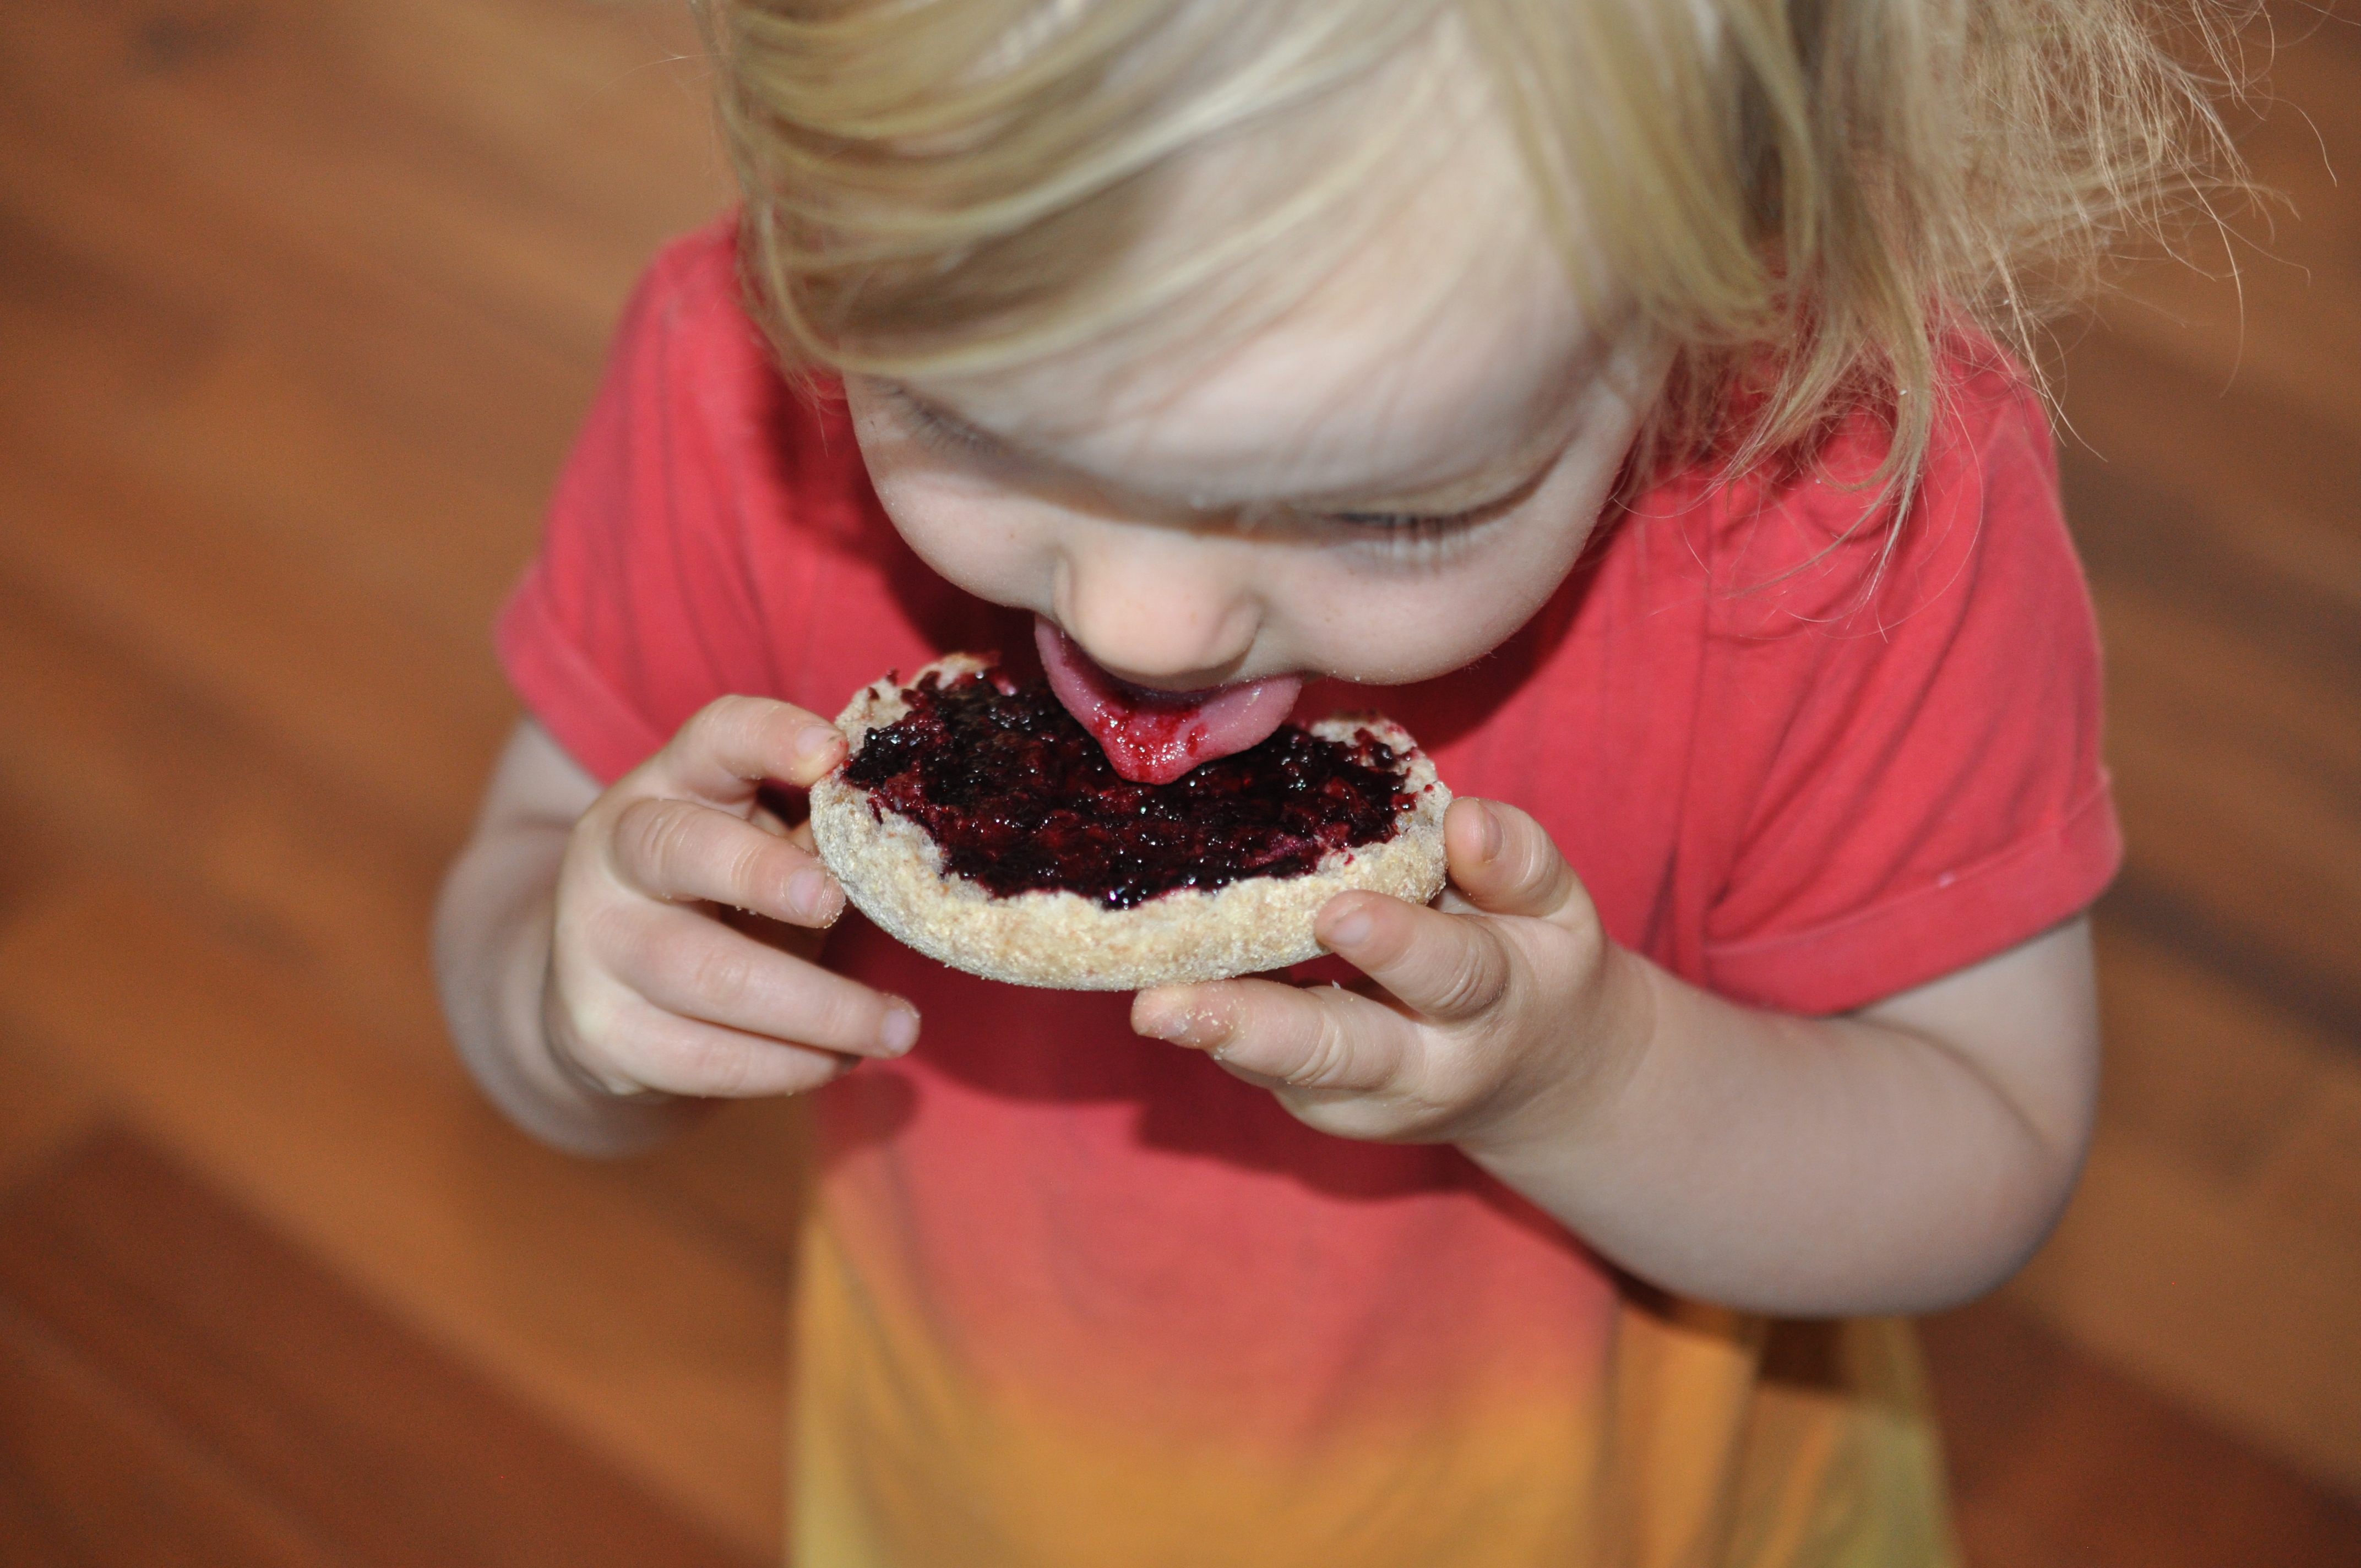
There is a reason you don’t often see recipes posted here: I’m a disaster in the kitchen. In fact, I’d rather be scrubbing toilets than preparing a meal. It’s just not my thing, as demonstrated clearly in this previous post. However, at the very moment my little Z and I are enjoying a breakfast of English muffins smothered in fresh, homemade blackberry jam. That should speak volumes to how easy this recipe for canning blackberry jam is.
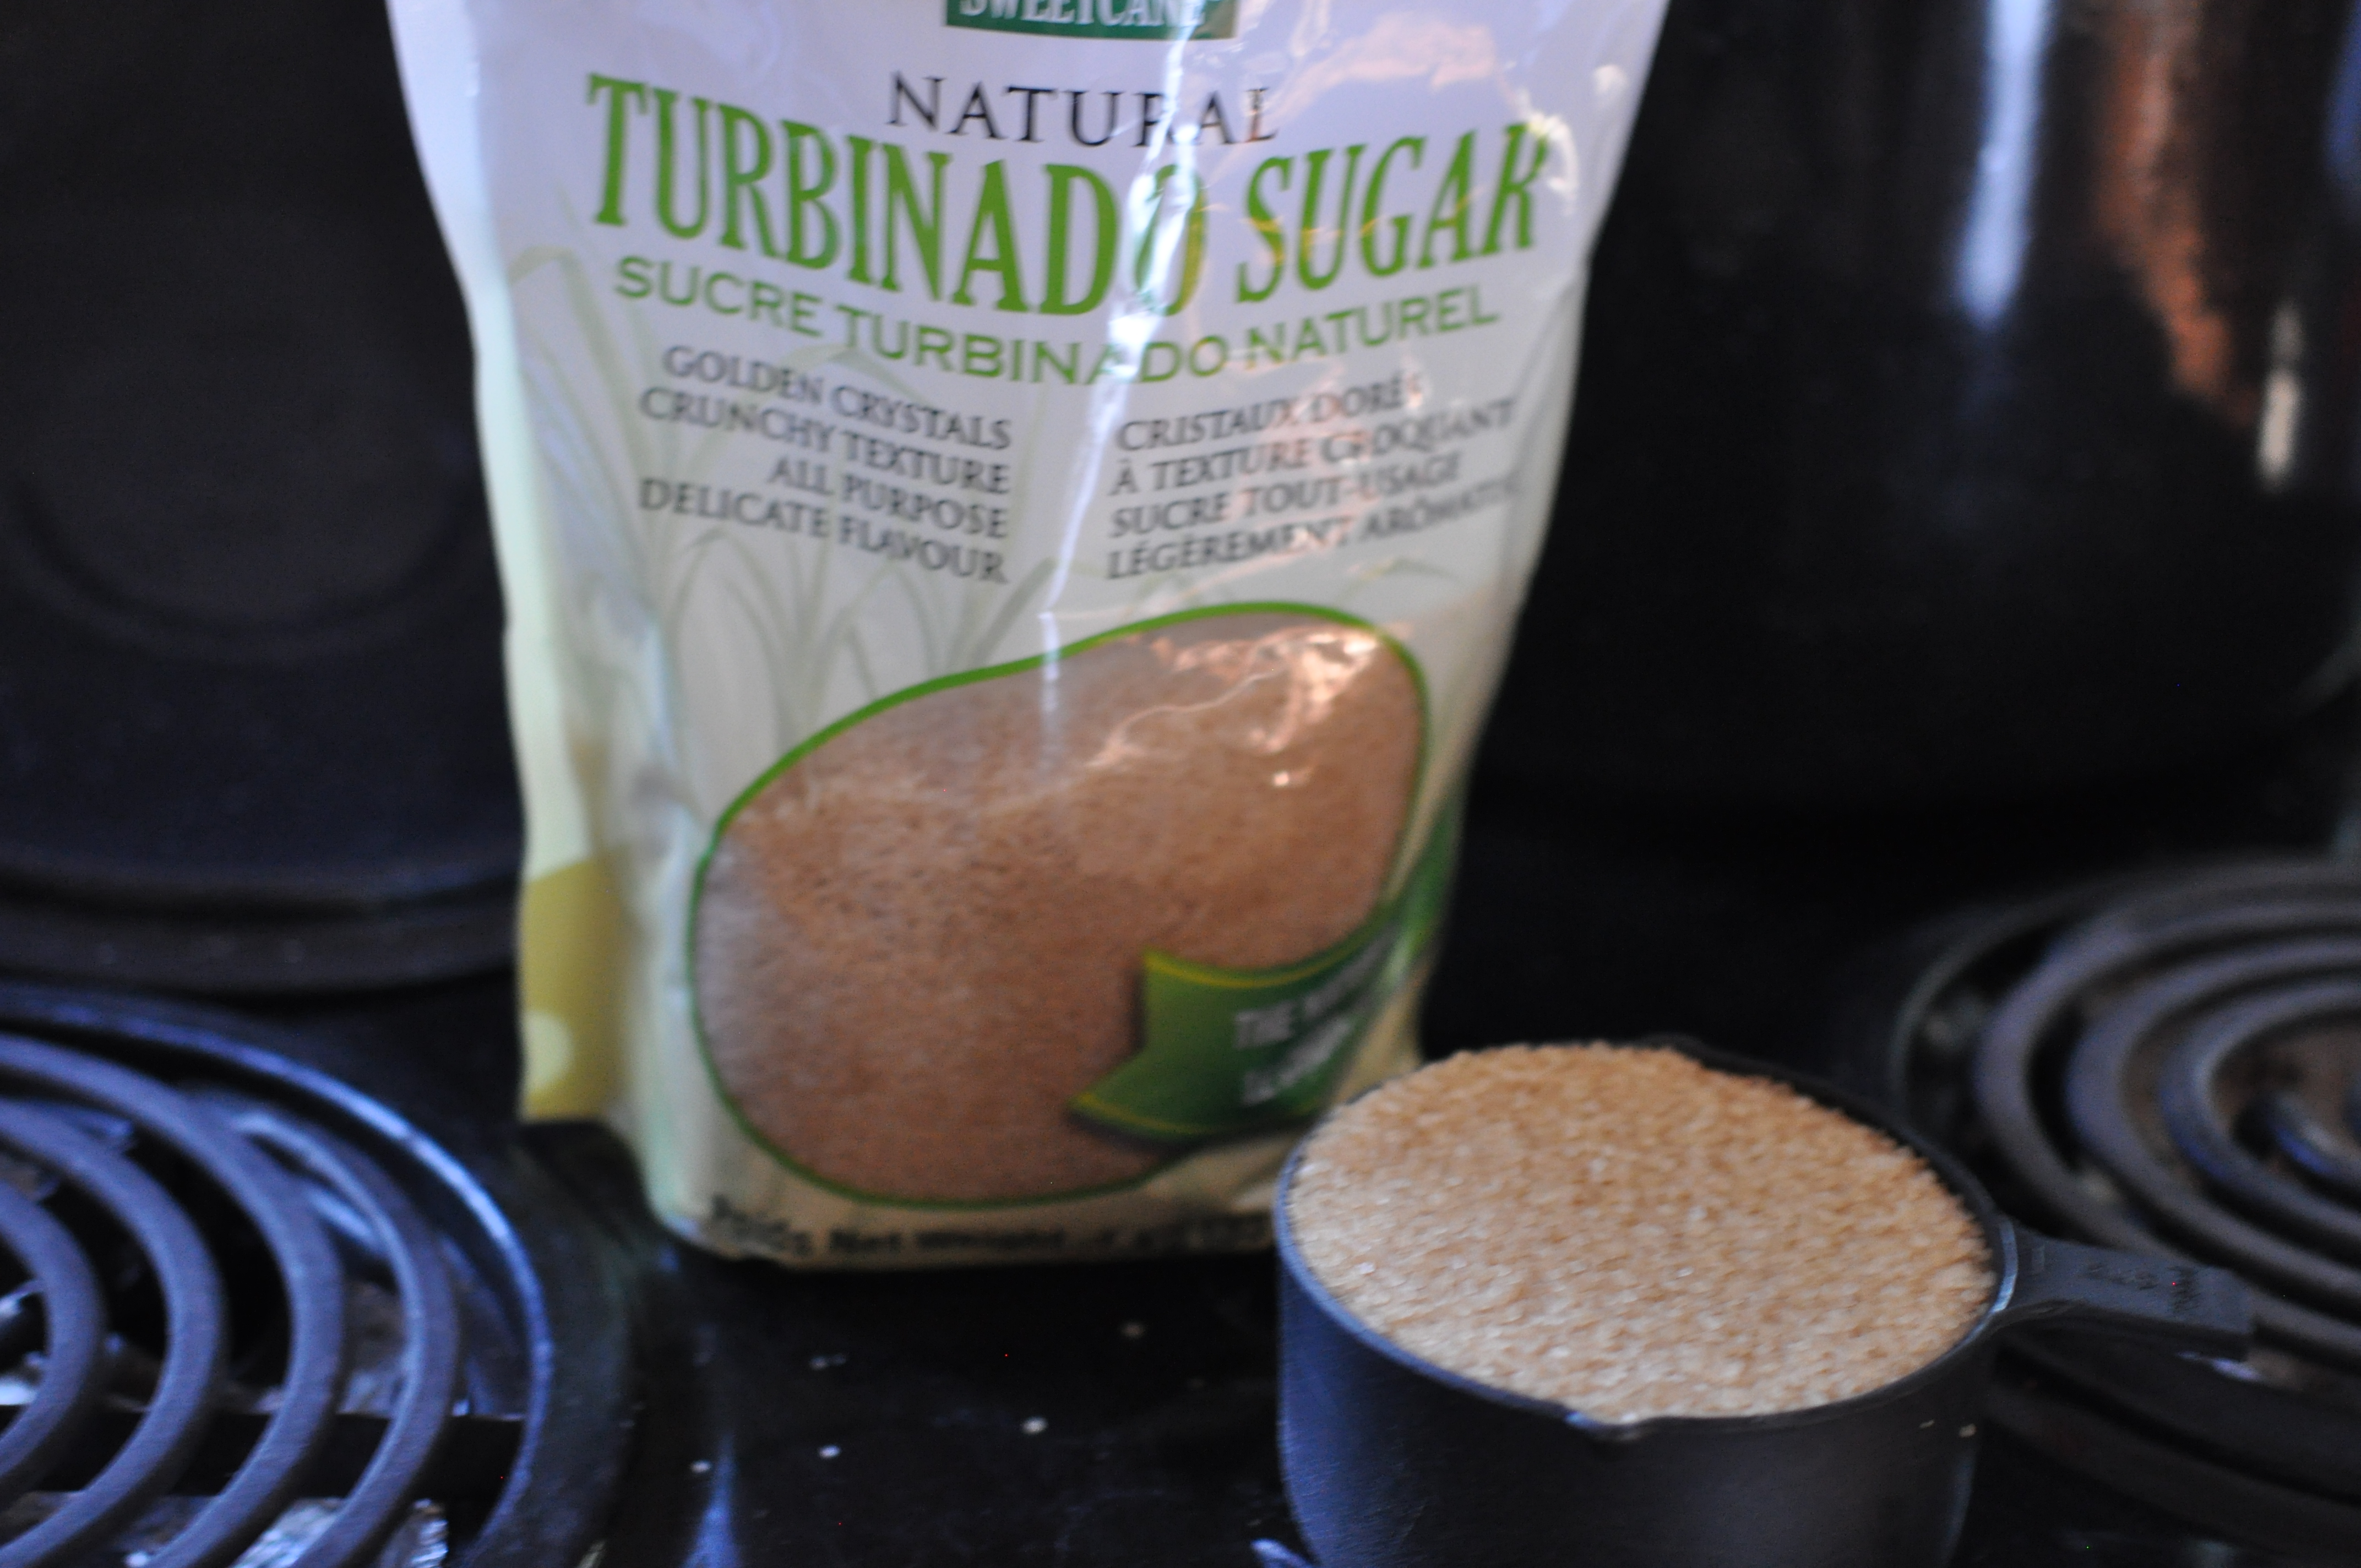
If you follow this blog, you also know how I prefer to use natural, healthy ingredients whenever possible, and this jam is no exception. Yes, there is sugar, but I choose to use natural Turbinado sugar. I have also experimented to decrease the amount of sugar to the least possible that still makes the perfect jam consistency. Not too runny, and not like a hard lump of sugar gel, either. Are you ready for this?


You’ll notice there’s no pectin in my jam. Pectin helps to thicken foods like jams and jellies. I prefer not to use it, as blackberries already contain enough naturally occurring pectin. However, if you freeze fruit and berries, the natural pectin is compromised and your pies and jams won’t naturally gel the way you want them to. So only use fresh blackberries for you blackberry jam, at a maximum of 3 days from when you picked them.
It’s hard to test the consistency of jam while it’s cooking, so pop a plate into the freezer to get nice and cold. As you cook and wonder over and over if your jam is ready yet, you can test a drop of the jam on the frozen plate and see how it gels up.
Making jam properly is time sensitive. You’ll want to move quick once everything is ready to go in the jars, so make sure you’re all ready for that and are free of distractions. It definitely helps to have another adult around to help keep little ones from getting too close or pulling on your leg to request Llama Llama Red Pajama be read for the twenty-seventh time that day.

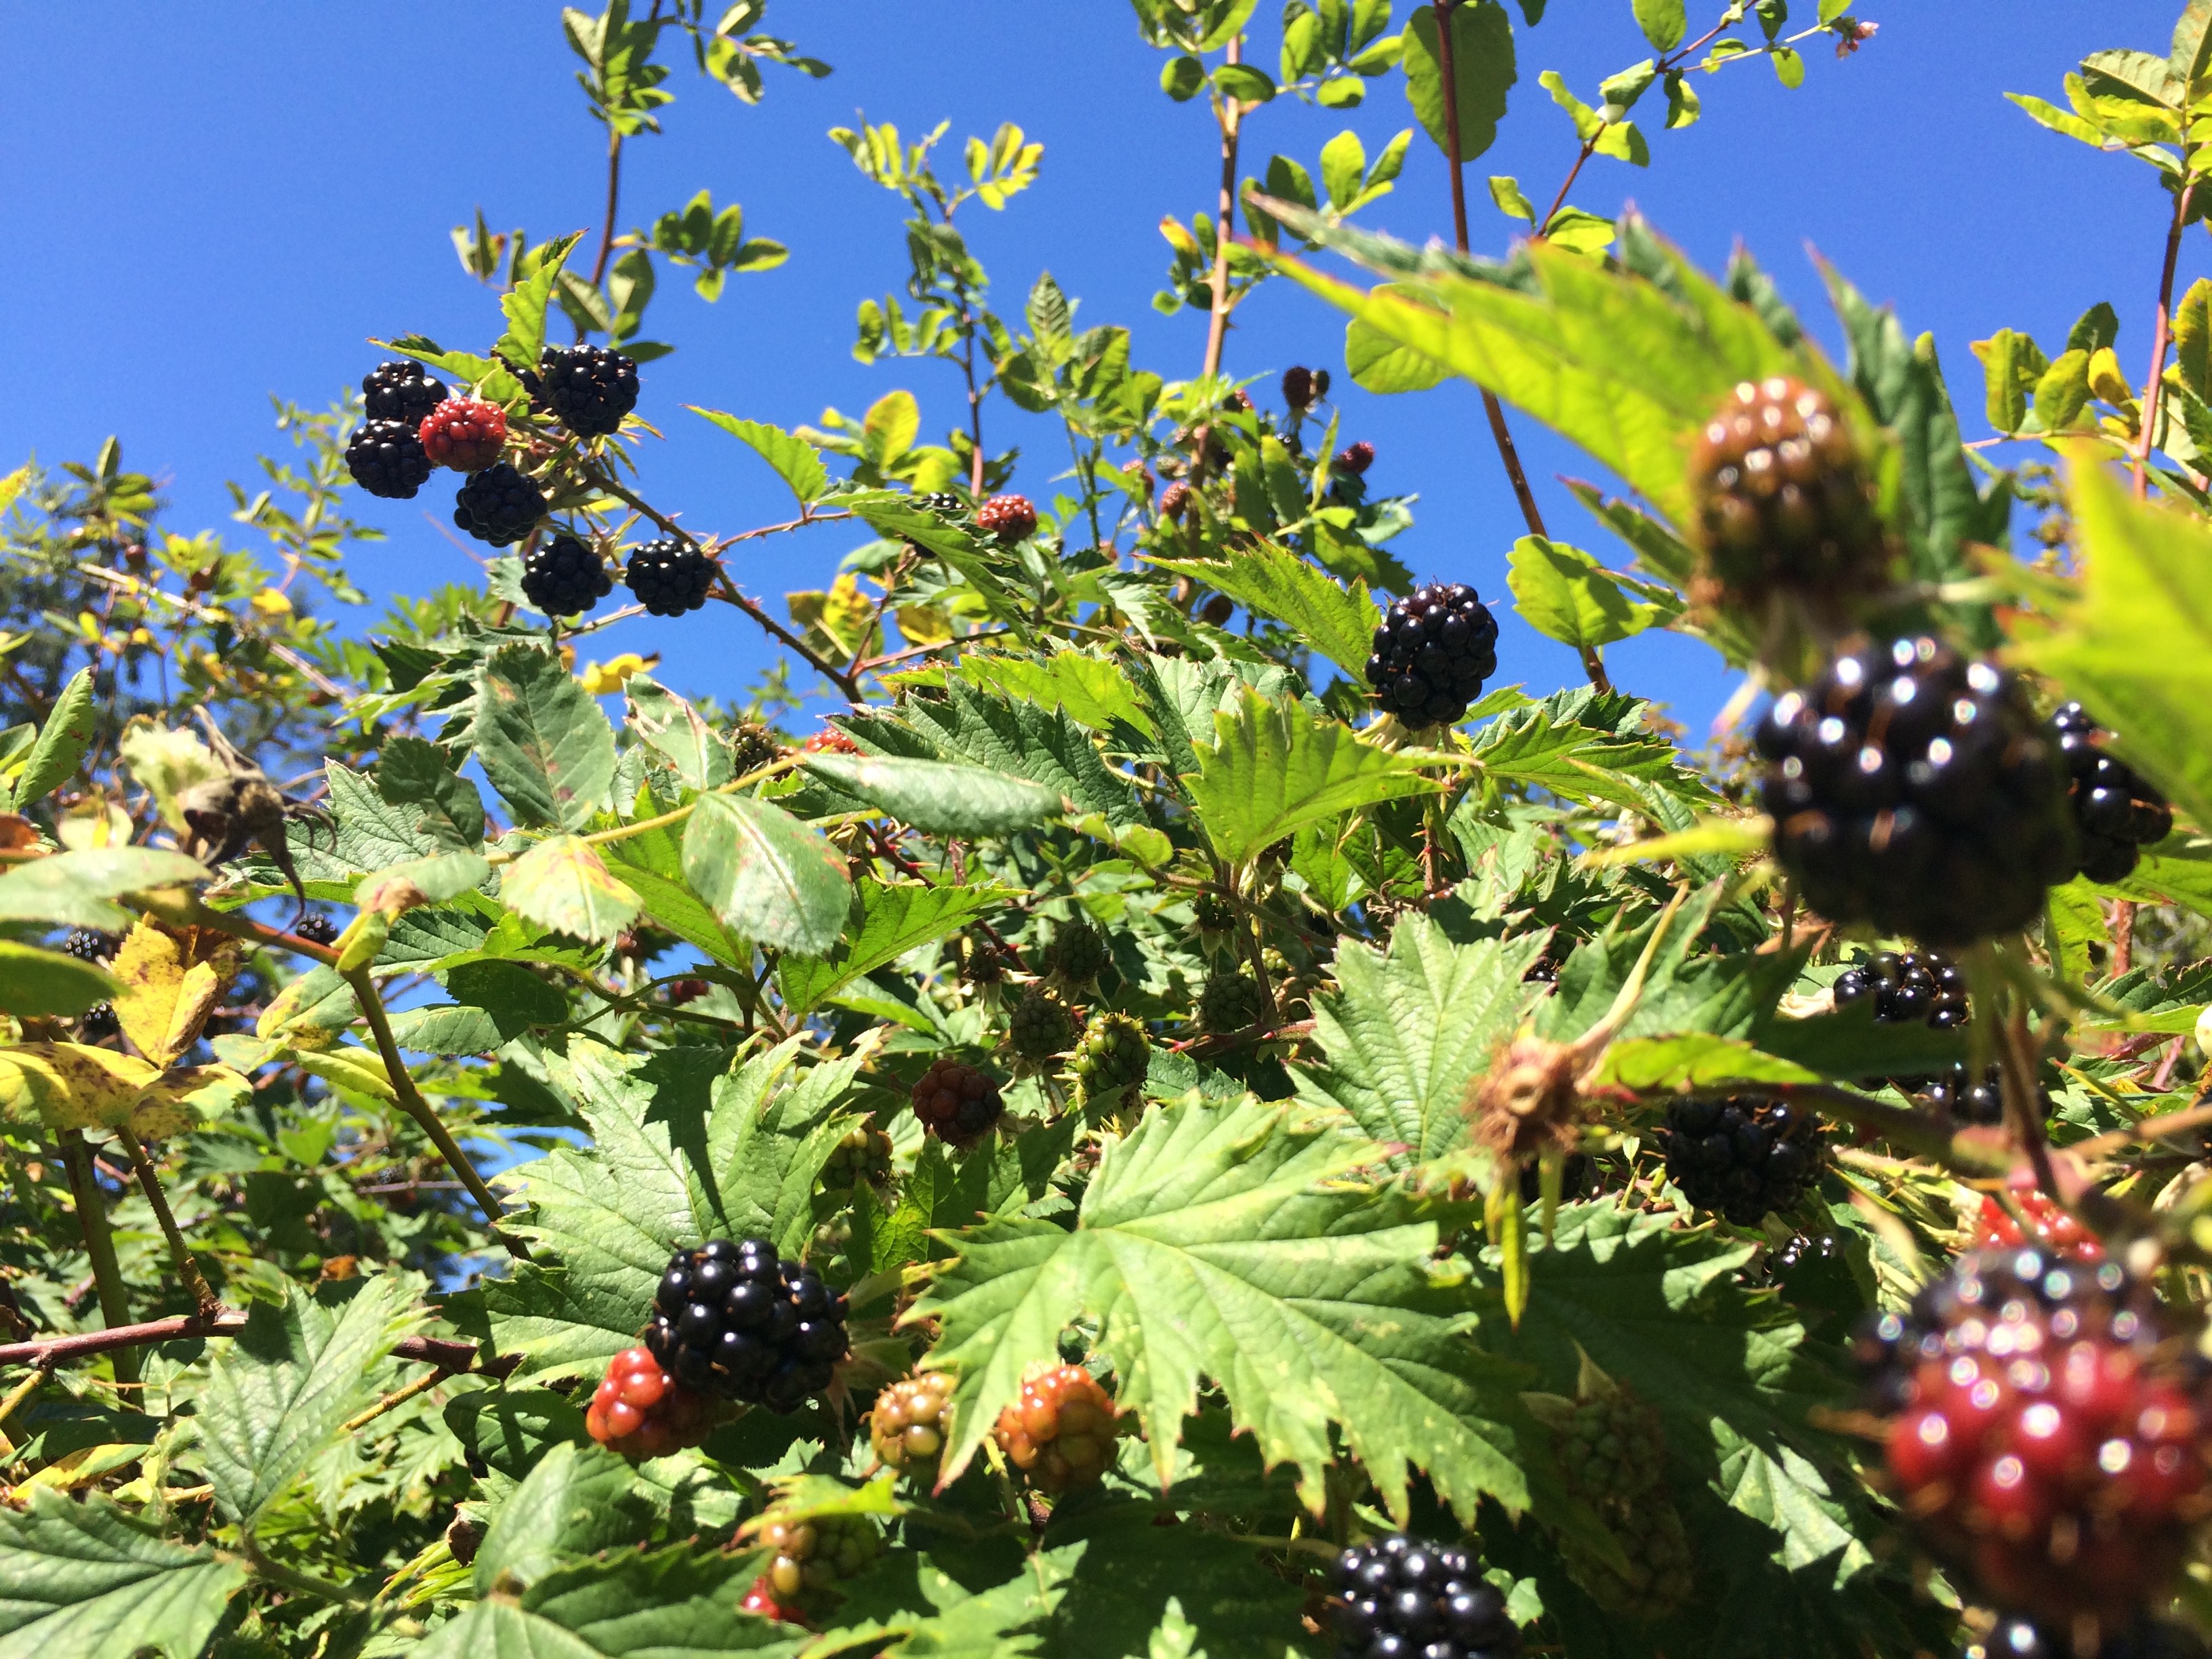
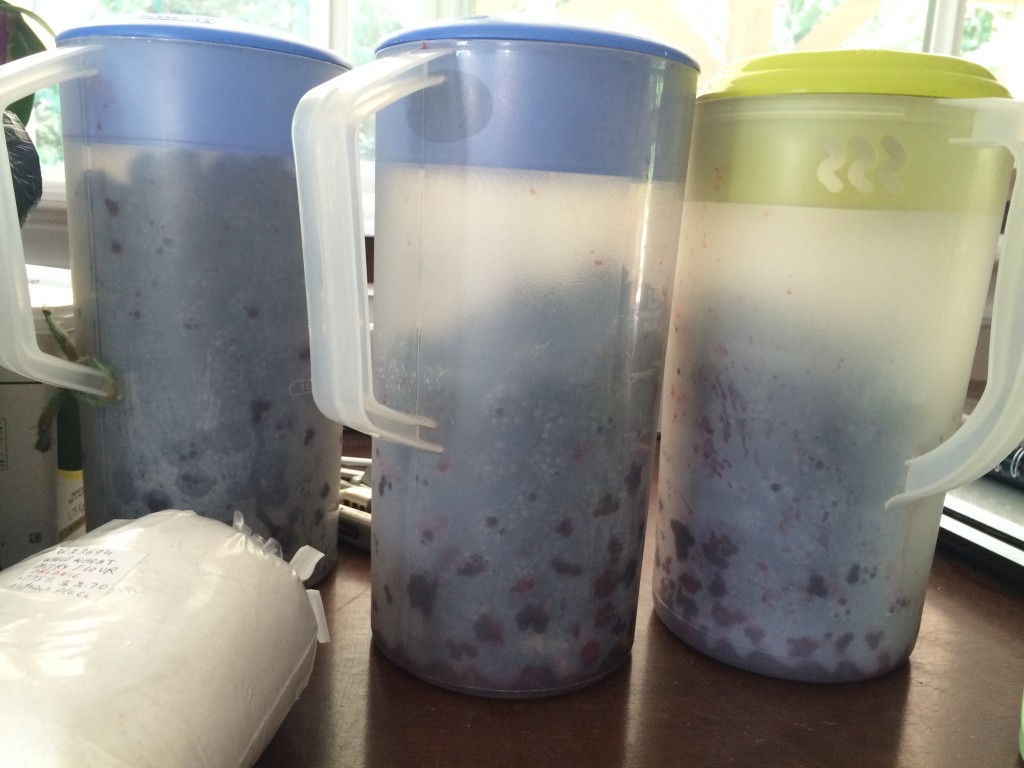
Step 1: Pick a ton of blackberries. This step seems to prove vitally important. You’ll need 9 cups of blackberries to make about 3 500-ml mason jars of jam (I ended up with a bit less, but I filled the first two jars really full). So find yourself a wicked blackberry patch or two, grab a few large containers you have lying around (juice jugs make an ideal, easy-to-hold container) and go nuts.

Step 2: Pull out your previously acquired canning jars (I’ve been slowly working through the huge collection I have still from our laid-back wedding) and wash them with soapy water. This is especially fun when you don’t have a kitchen sink due to renovations and have to haul your water and dishes outside. Once they’re all washed and rinsed, let them air dry.

Step 3: Rinse your blackberries. No one likes leaves and random bugs in their jam. Give ’em all a good swish around in some water and let them drain.
Step 4: Preheat oven to 225° (You’re going to sanitize the jars and lids in here so you don’t can germs and ruin it all).
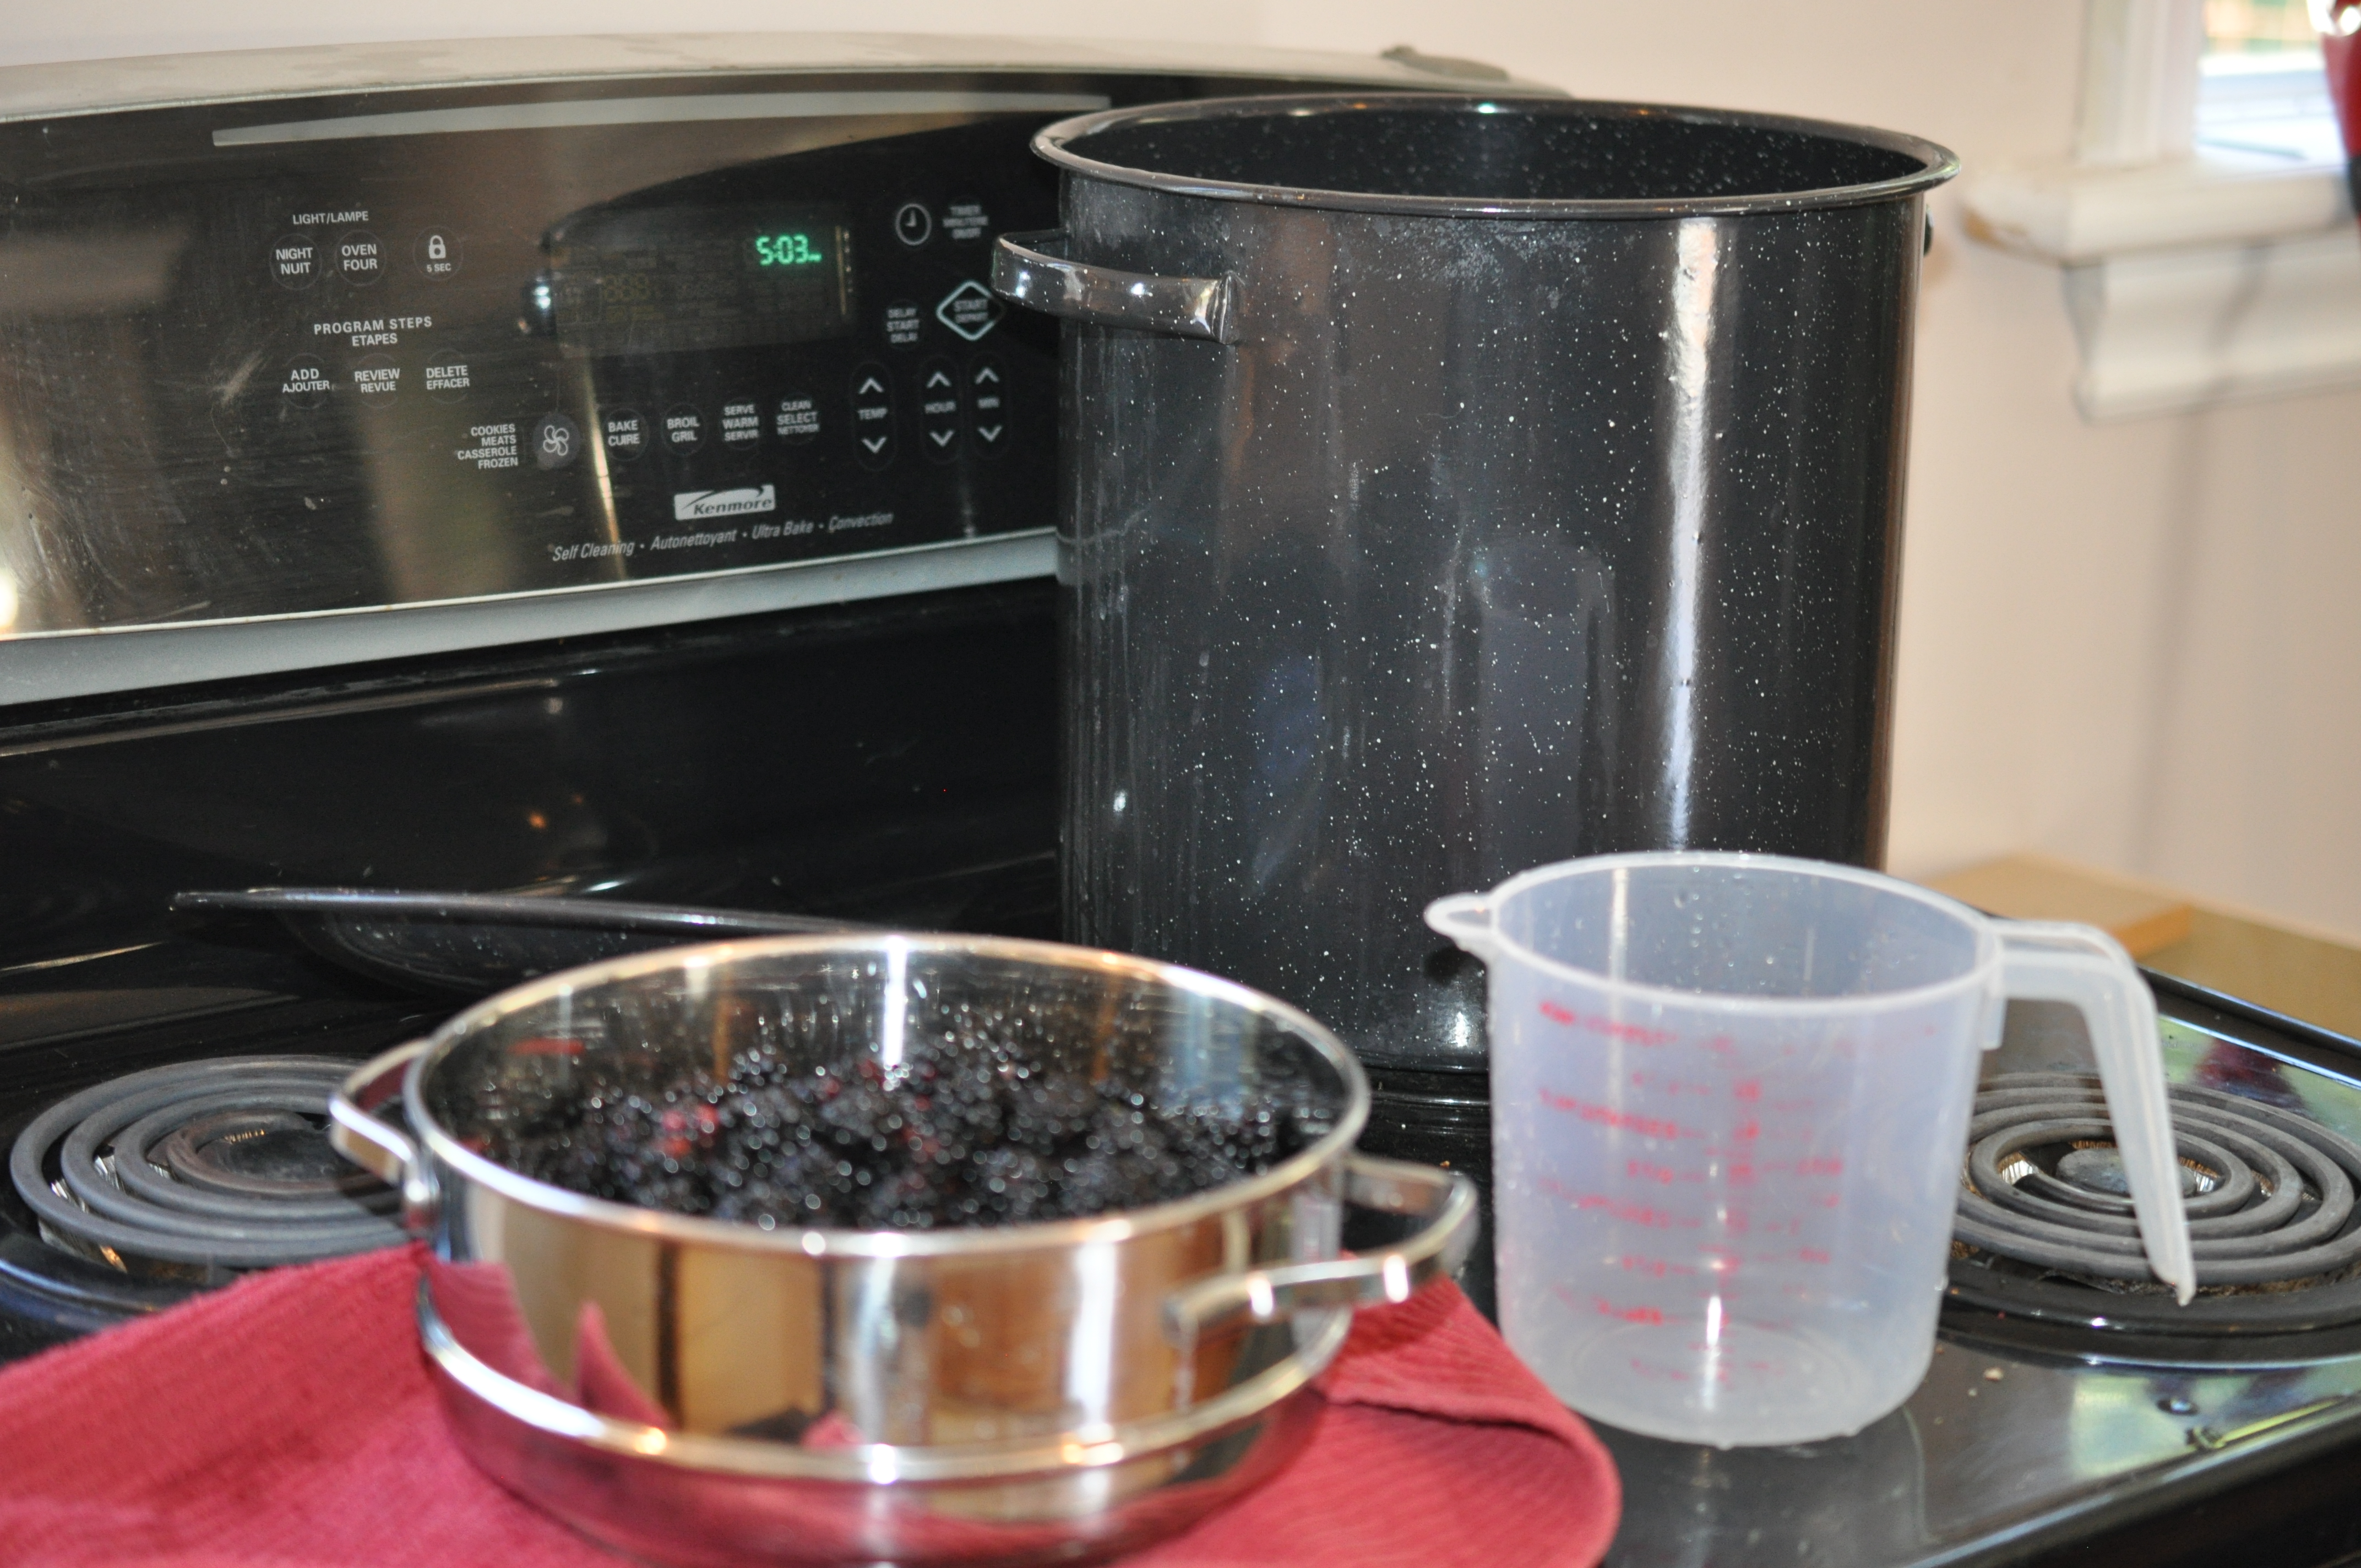
Step 4: Measure out 9 cups of blackberries into a giant pot. The bigger the better. Once it starts bubbling, you won’t want boiling hot blackberry bits flying everywhere. Trust me. The higher the sides, the happier you’ll be.
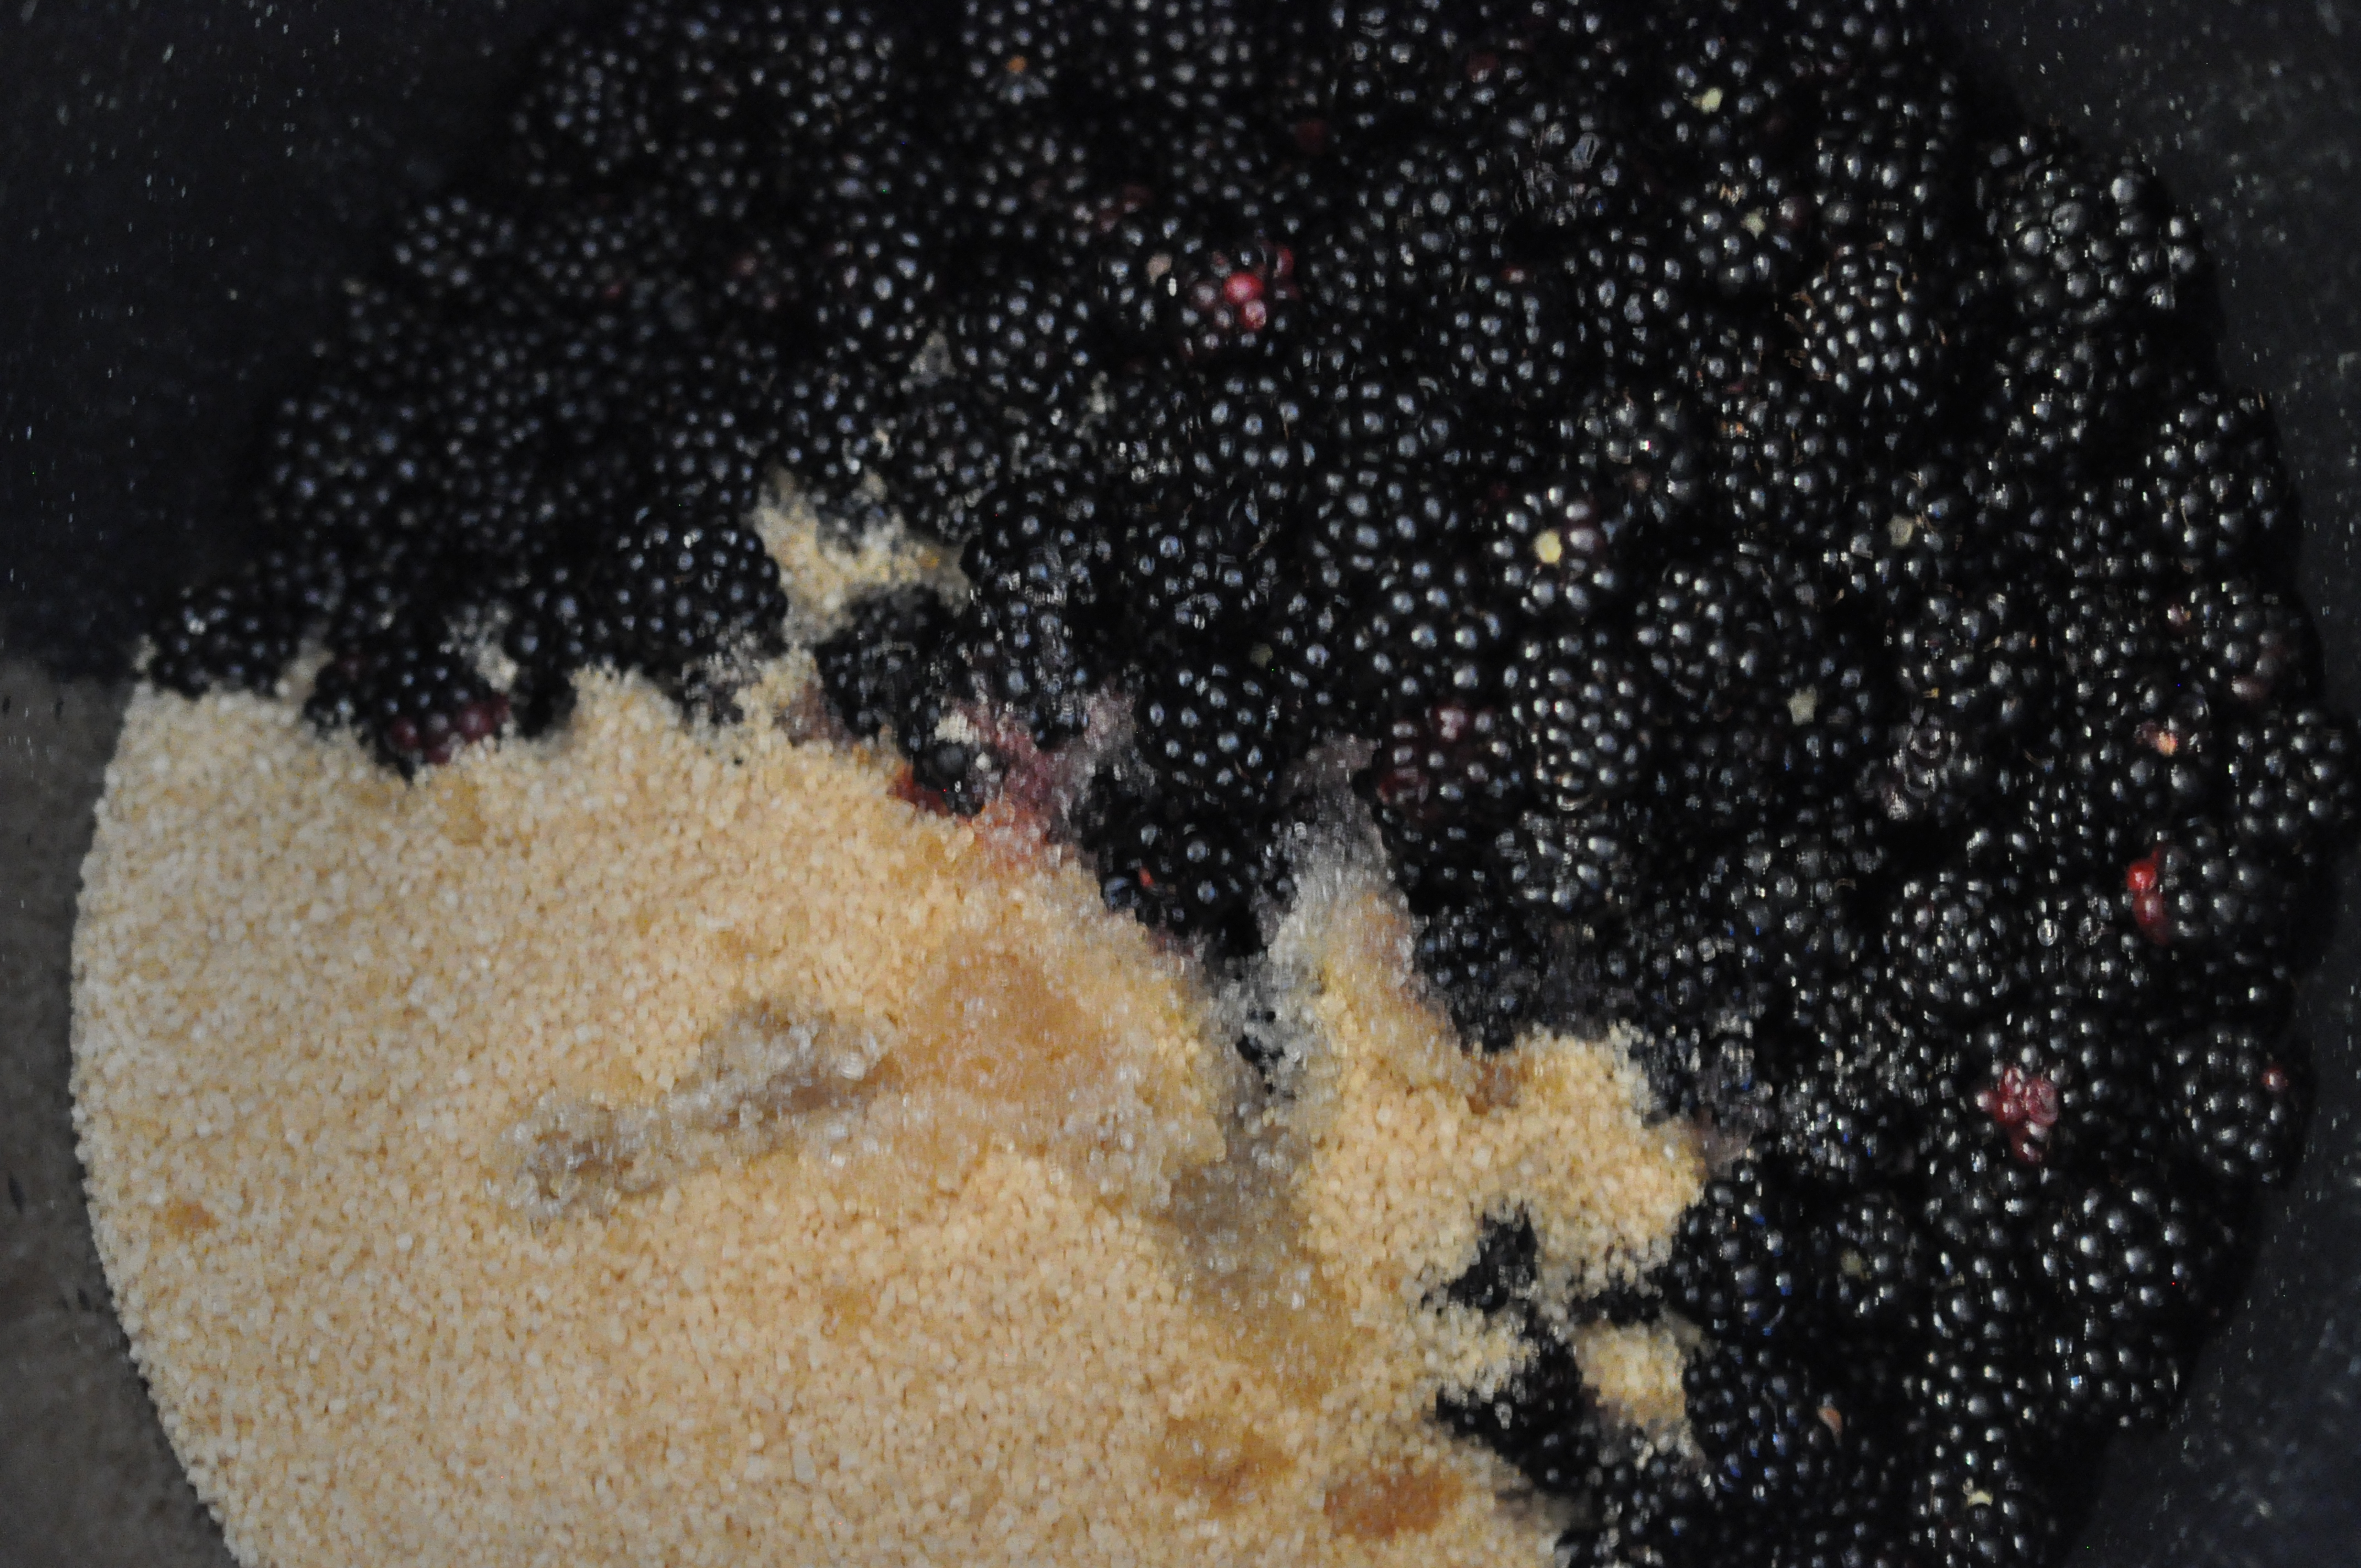
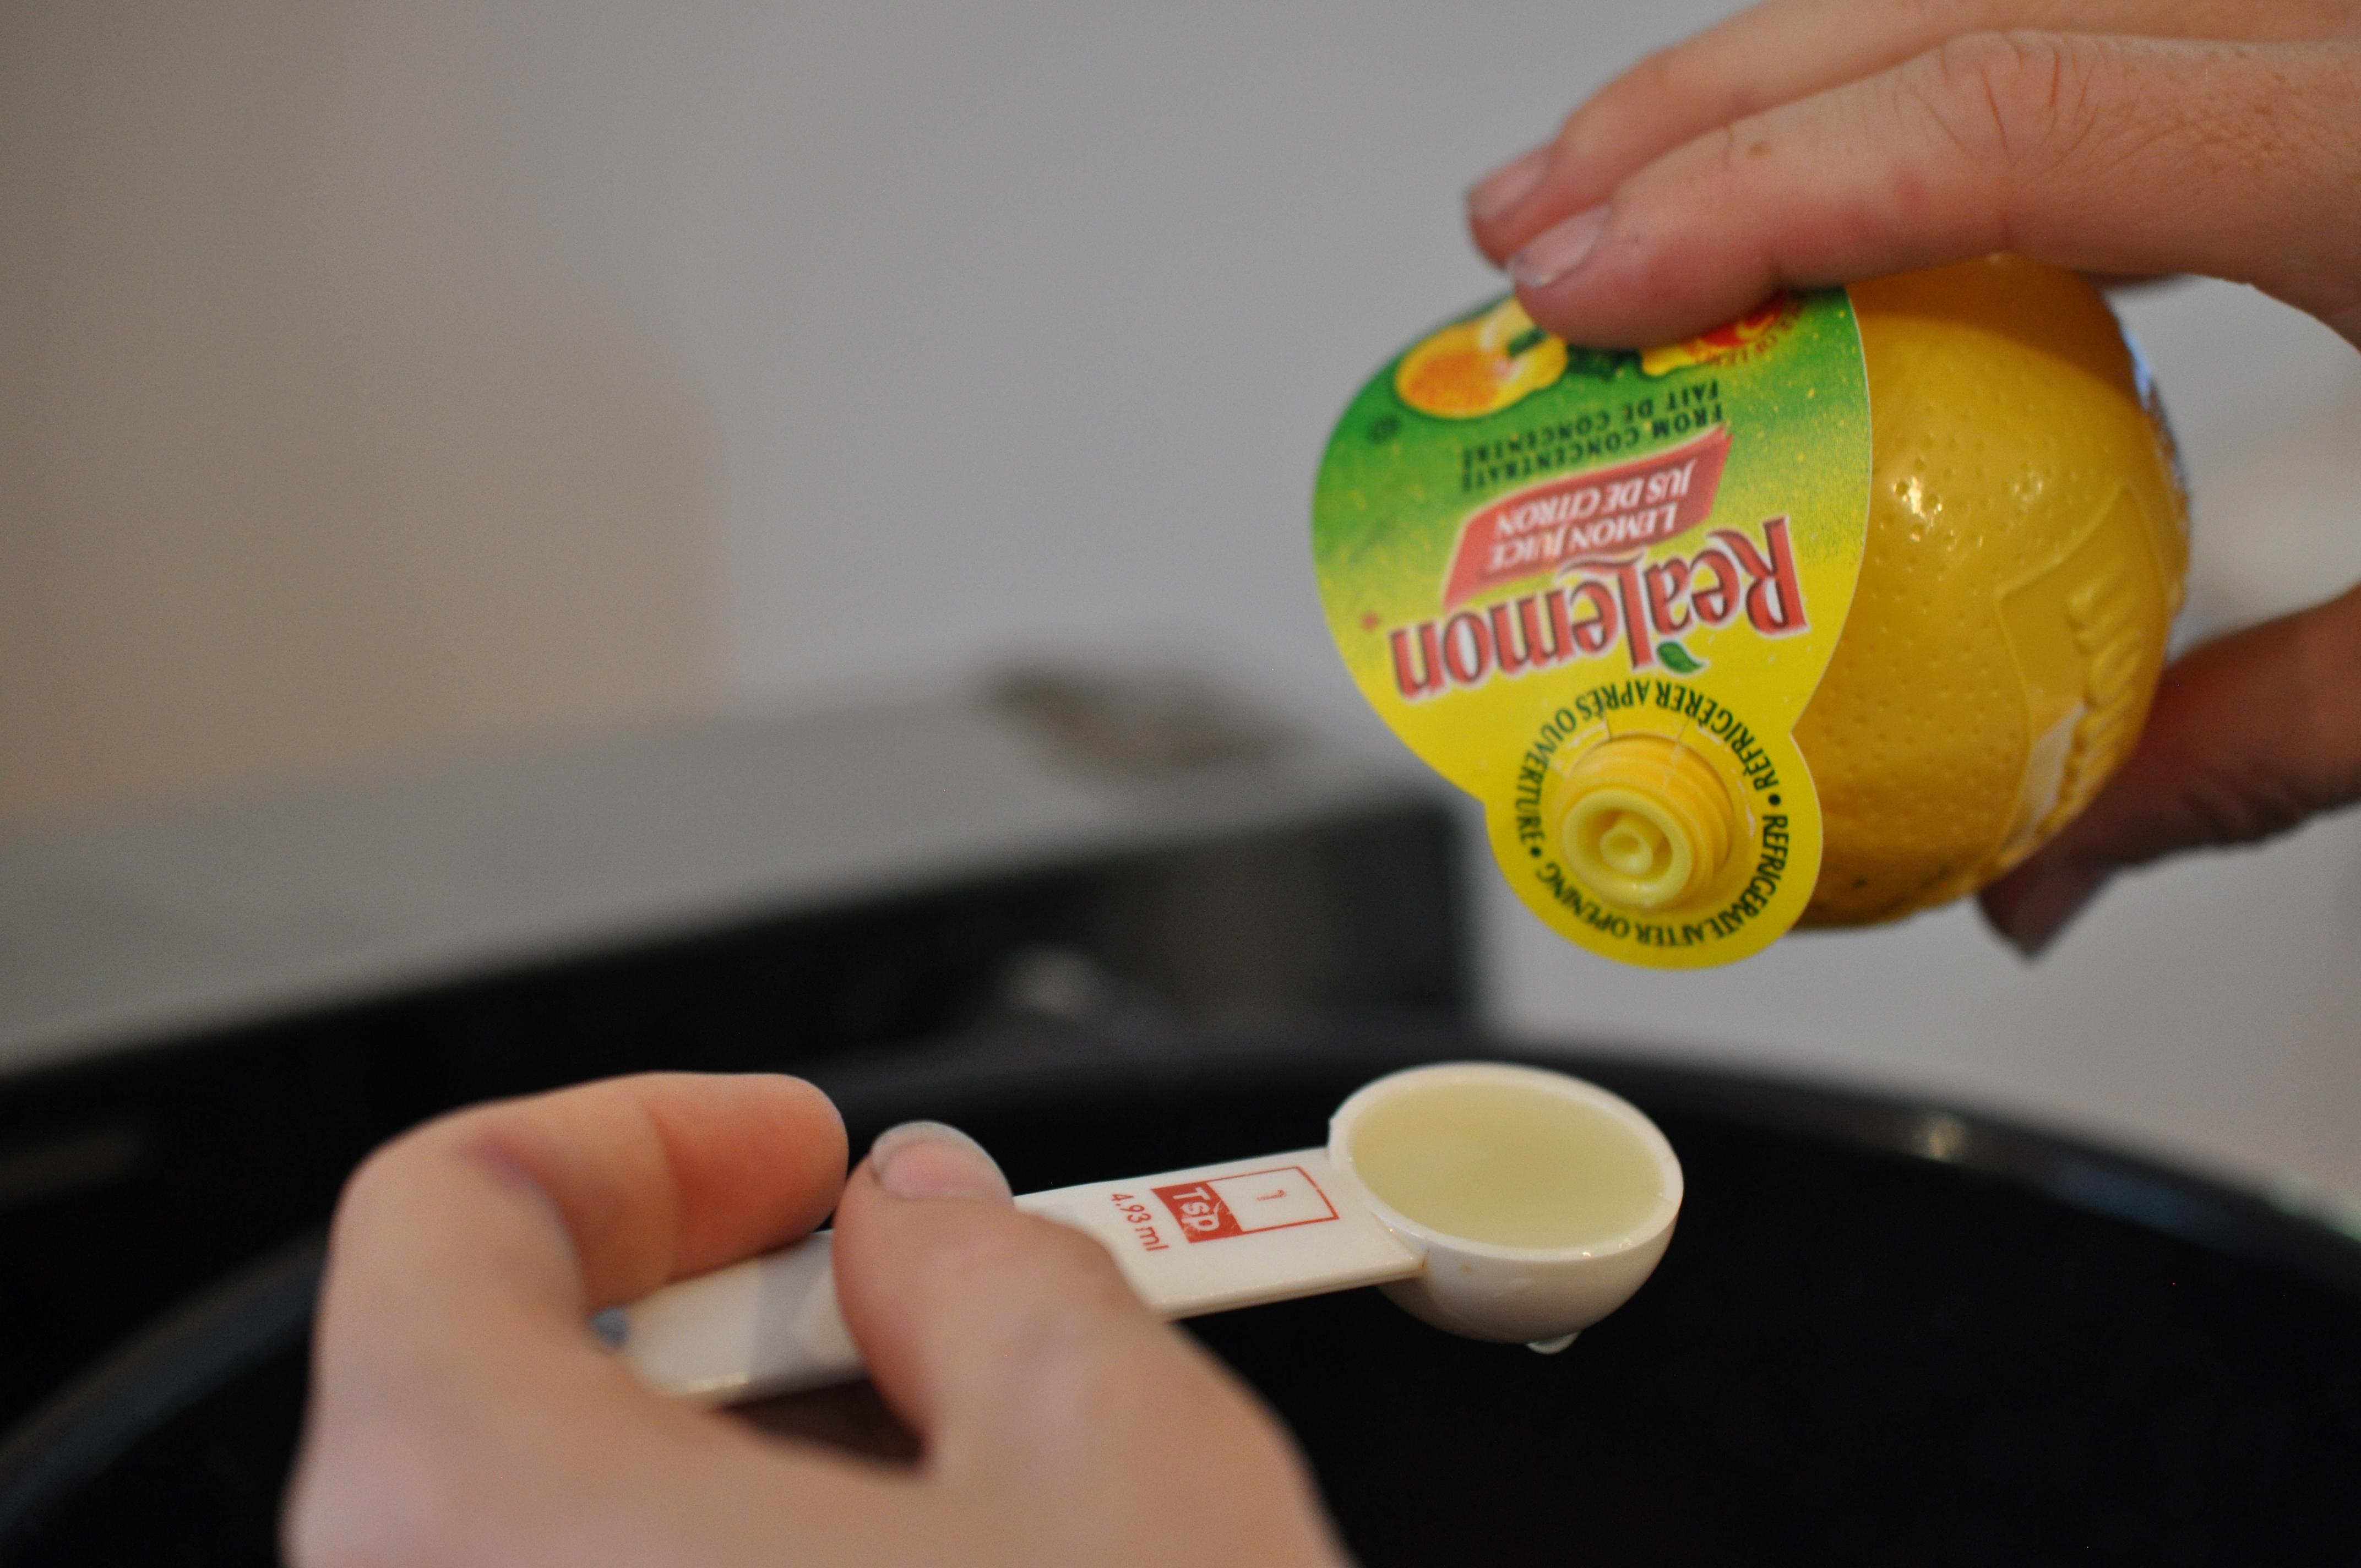
Step 5: Pour 2.5 cups sugar and 6 tsp lemon juice into the pot, and turn on to medium heat.
Step 6: Place your jars in the preheated oven on a cooking sheet, leaving room for the lids and rings to be added for the last 5 minutes. Set timer for 20 minutes.

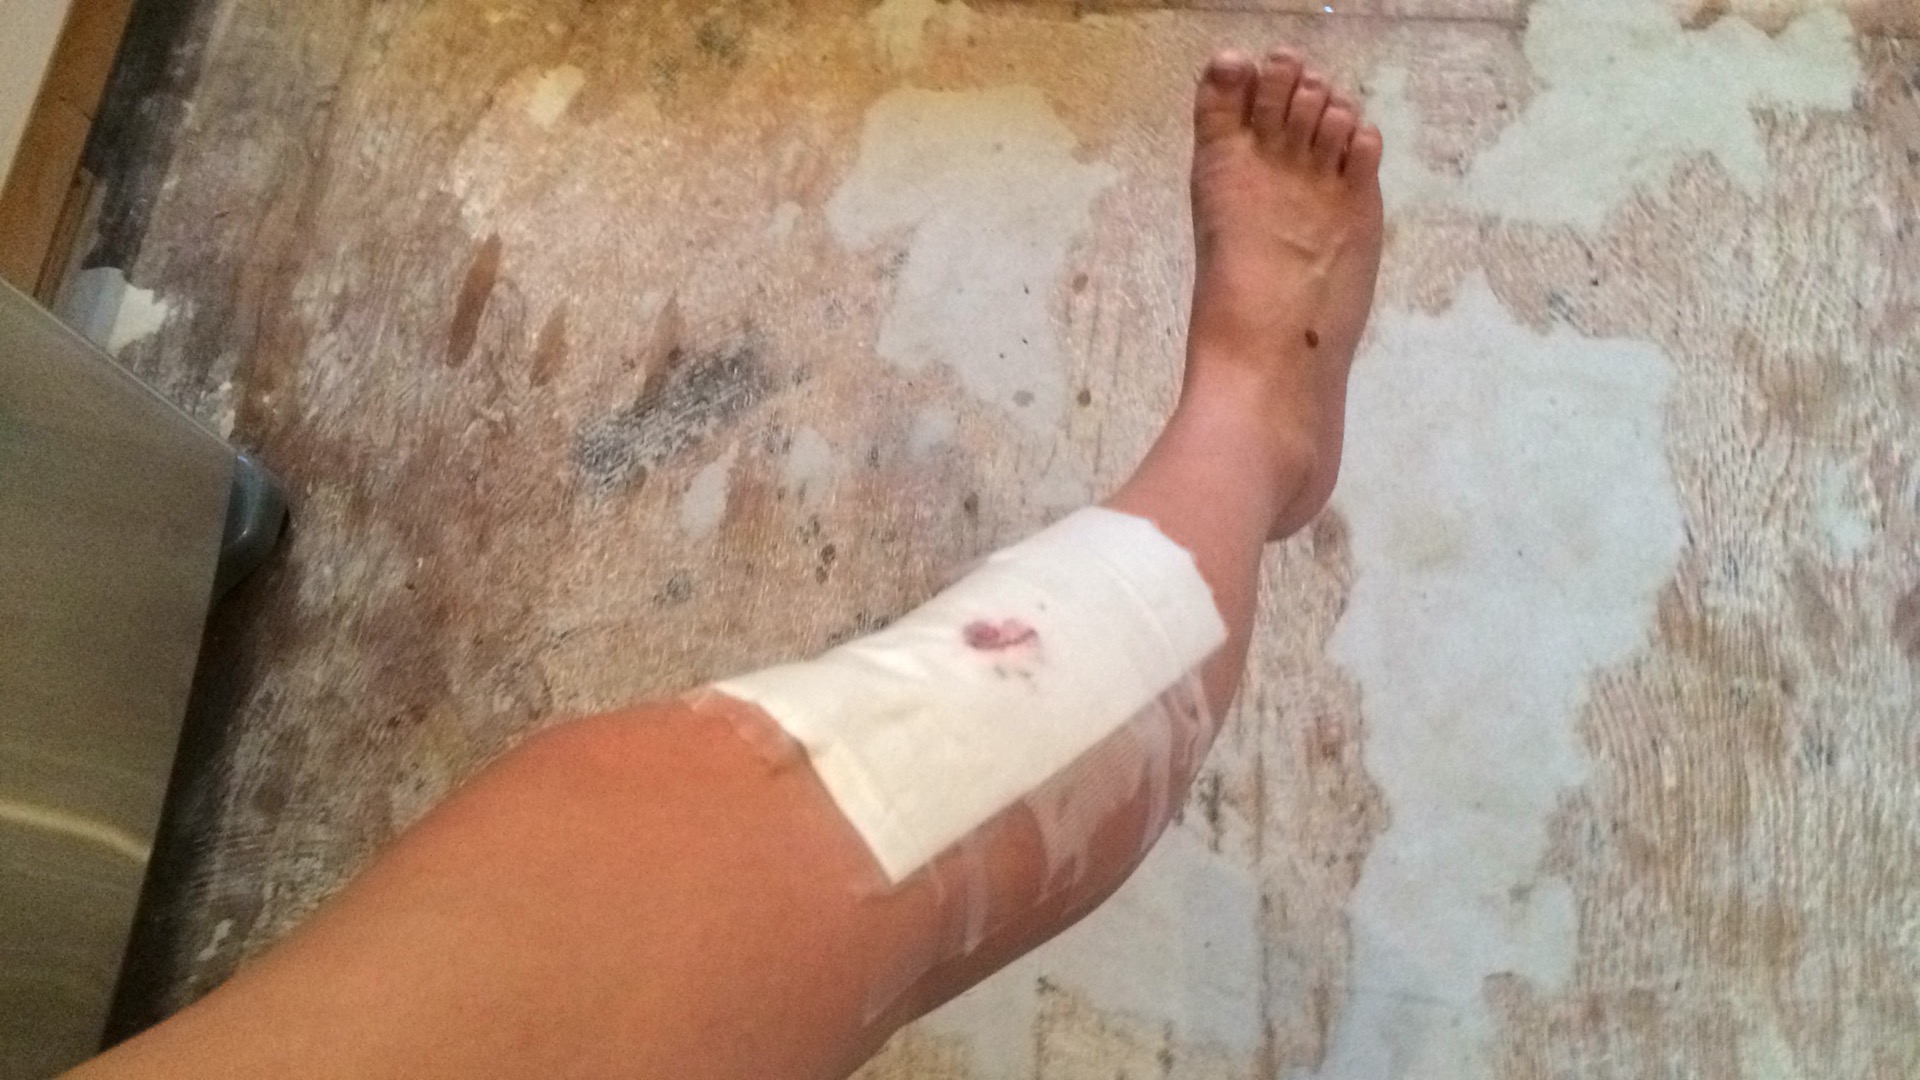
*If you are me, this is the point when you’ll run straight into the pile of raw glass panes that are waiting to go up in your currently-being-renovated kitchen cupboards. You know, the ones you kept barking at your 2-year-old to stay away from because they’re so sharp and dangerous. Take a brief breather to scream the F-word as loudly out your open windows as is humanly possible, killing the “we’re so calm and totally laid-back” impression you gave your brand-new neighbour not 30-minutes earlier. Go upstairs to wash your wounds (whining and screaming continues here), slap on a giant medical patch left over from your husband’s unfortunate disc-golfing, leg-maiming incident last fall, and continue to whine as you limp back to the kitchen to finish your jam.
Step 7: When jam starts to bubble, increase to high or medium-high heat. Try not to stir too much, or you’ll wreck the gelling effect that’s happening in that sexy, bubbling pot.
Step 8: Did you remember to set the timer on those jars sanitizing? It might be time to pop those lids and rings in for the last five minutes before turning the oven off. Leave everything in the oven once it’s off to keep the jars and lids from contamination until you’re ready for them.
Step 9: Once the blackberry jam reaches your desired consistency (remember the plate trick or just cook it to death like I do), remove jars one at a time from the oven and fill them up. Use the scoop-y spoon to scoop the jam into the jars. Put lids on tight immediately, using the clean tongs to help grab them since they’ll be super hot. Or just burn your guitar-calloused fingers. Also an appropriate option in my house.
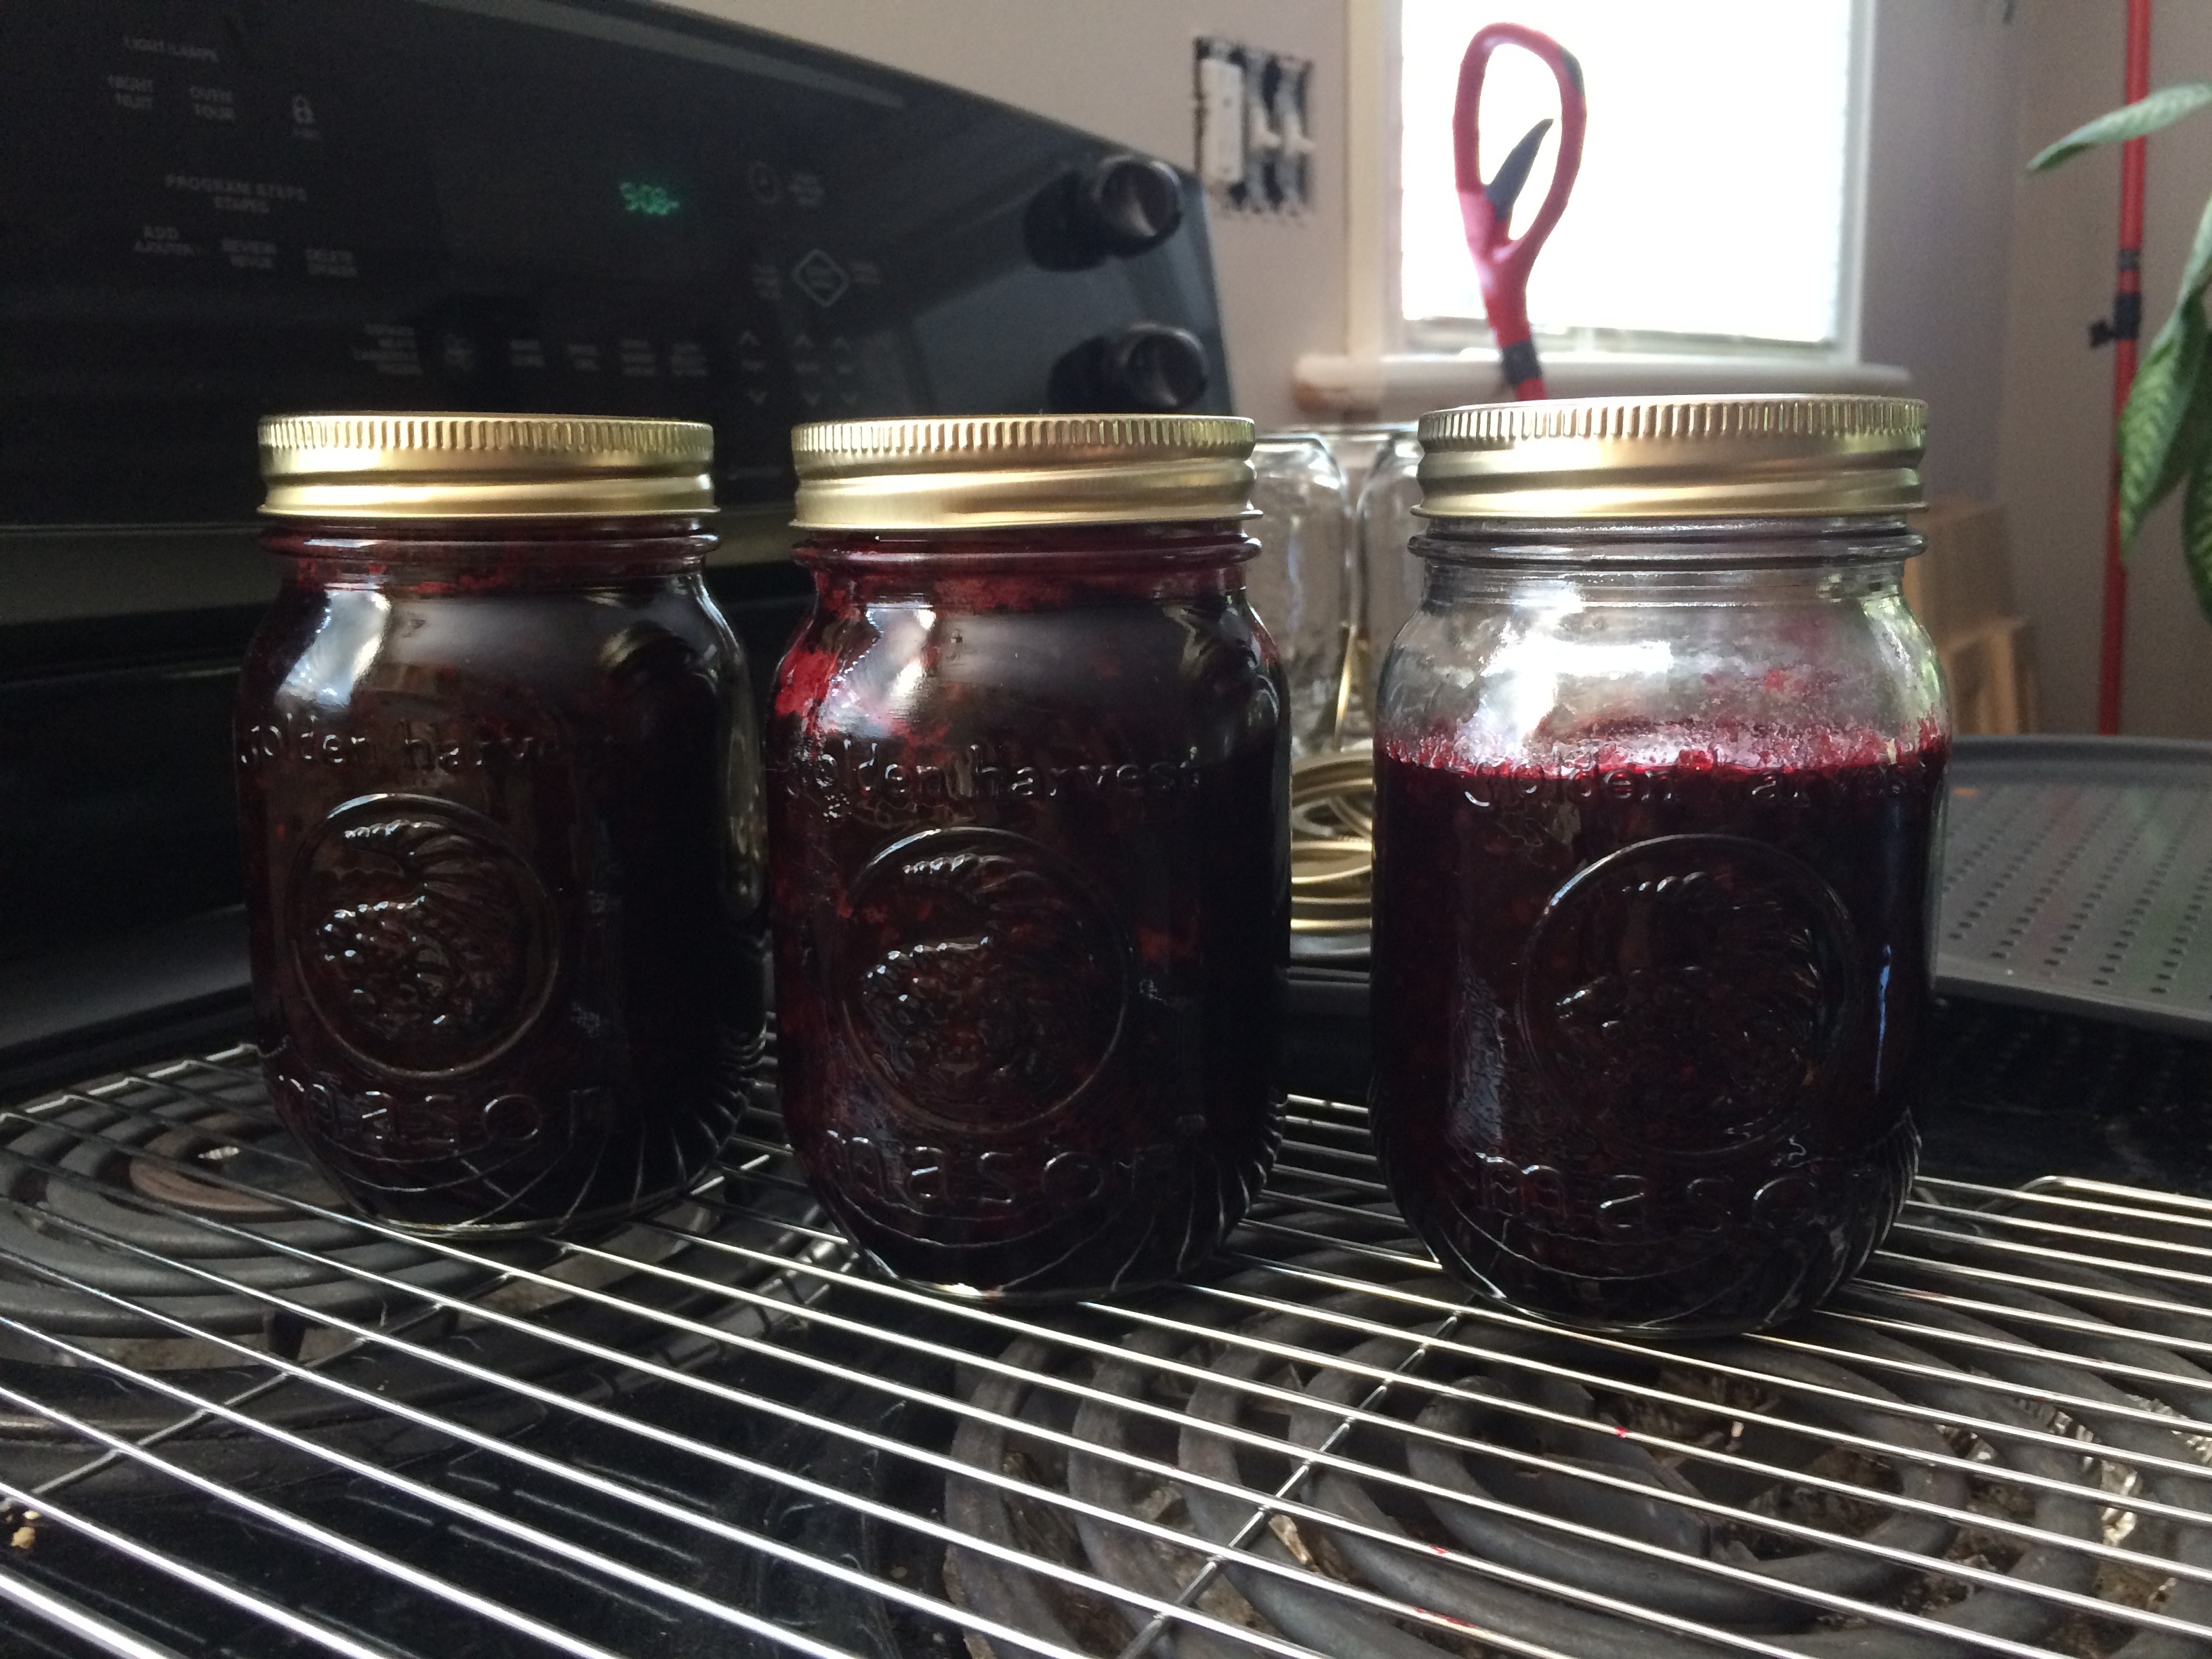
Step 10: Let the full jars of delicious sunshine sit on the cooling rack over night. You’ll hear the lids pop down as they self-seal from hot blackberry jam inside them. If one doesn’t pop down (I’ve never had this problem in the 3 years I’ve been doing this), you’ll want to eat that jar first and quickly before it goes bad.
And there you have it. Good luck, lovely people! I hope you like jammin’ too!
I’d love to know if you tried making jam like this. Comment below or connect with me on social media. You can find me on Facebook, Twitter, Instagram, Pinterest, and even YouTube. I’d be especially interested to hear if you’re as clutsy as me and also maimed yourself making jam.
If you liked what you read here, why not stay up-to-date with future posts? Sign up here to get on the list of awesome people who are already receiving a quick and simple weekly email to let you know what’s new here.
One thought on “We Be Jammin’: Blackberry Jam Made Easy”
Pingback: A Salt Spring Island July: Personal Photography Favourites