
Now that Christmas is officially over, and the gifts have been opened, I can finally share with you a little project I made for my hubby this year.
I always have a hard time finding a project I can make for a man. The dudes don’t seem to be into hand-knit sweaters, there are only so many toques and mitts you can make a guy, home-made soaps don’t cut it for that someone special, and scrapbooks aren’t exactly a “win”. Last Christmas I challenged myself to make a handmade gift for everyone. The kids, ladies and couples in my life were easy enough to figure out, but my hubby ended up getting a personalized to-go coffee thermos with pictures of our new daughter.
So this year I was determined to make him something special that he might actually like.
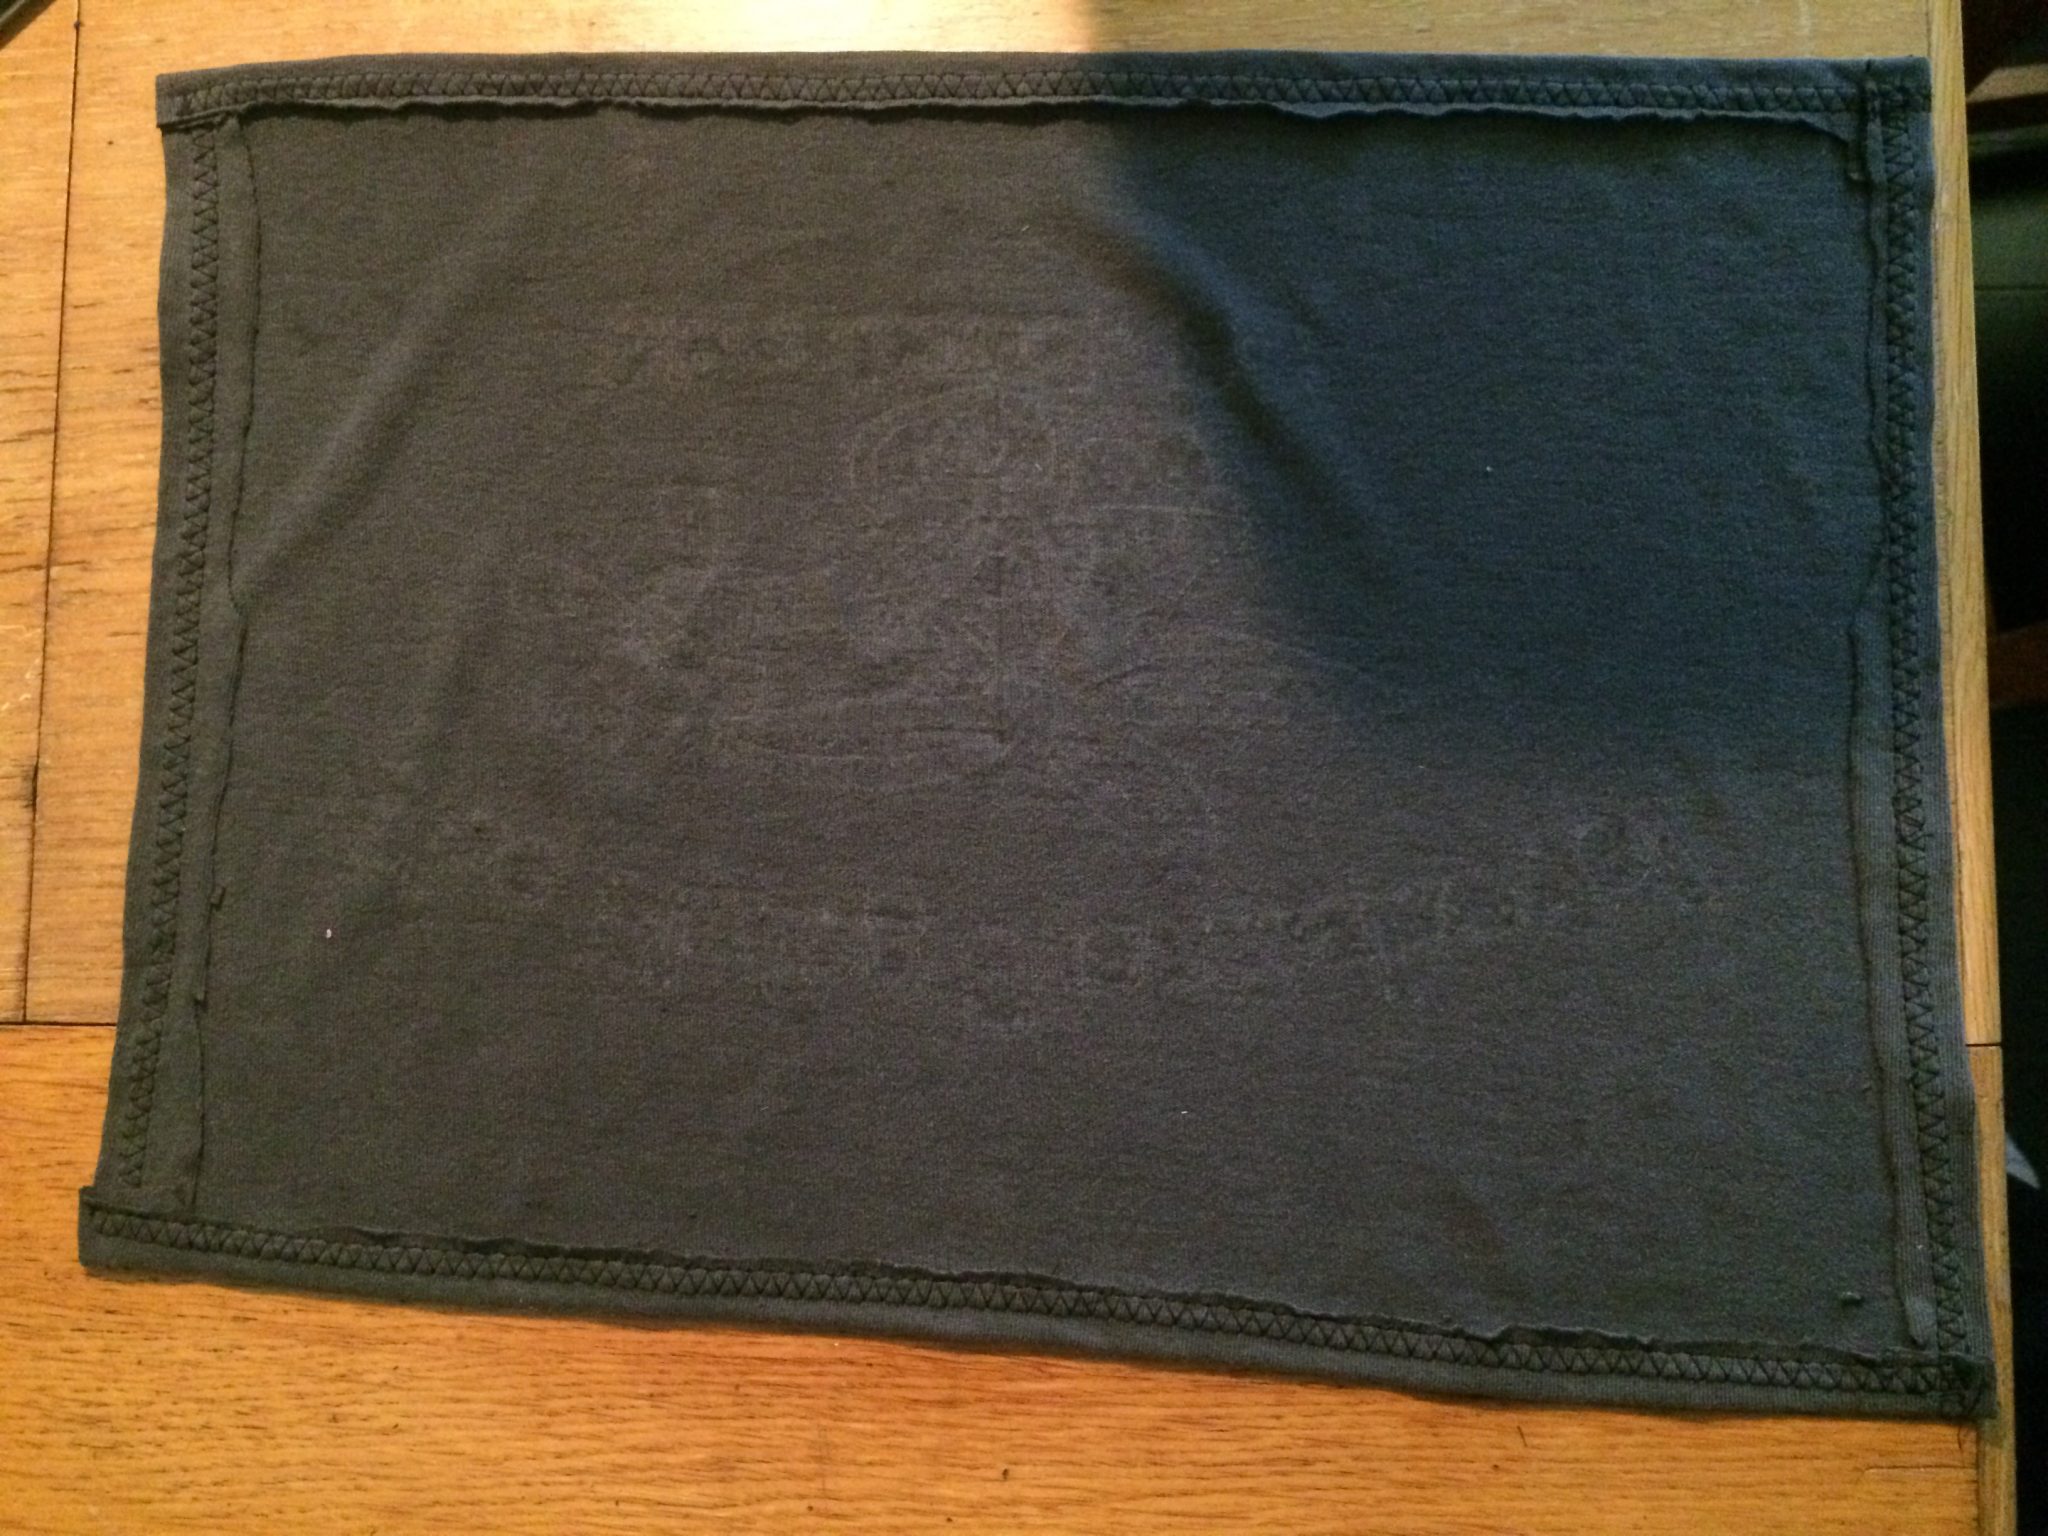
Going through our drawers in the last few months, constantly trying to get rid of things and downsize (which is still a big part of my New Years Resolutions), we came across a raggedy old t-shirt he’d had for much longer than he’d known me. It had reached and surpassed the prime of it’s clothing life, and my hubby reluctantly agreed with me that he could no longer pass it off as a shirt, as it was more hole than shirt now.
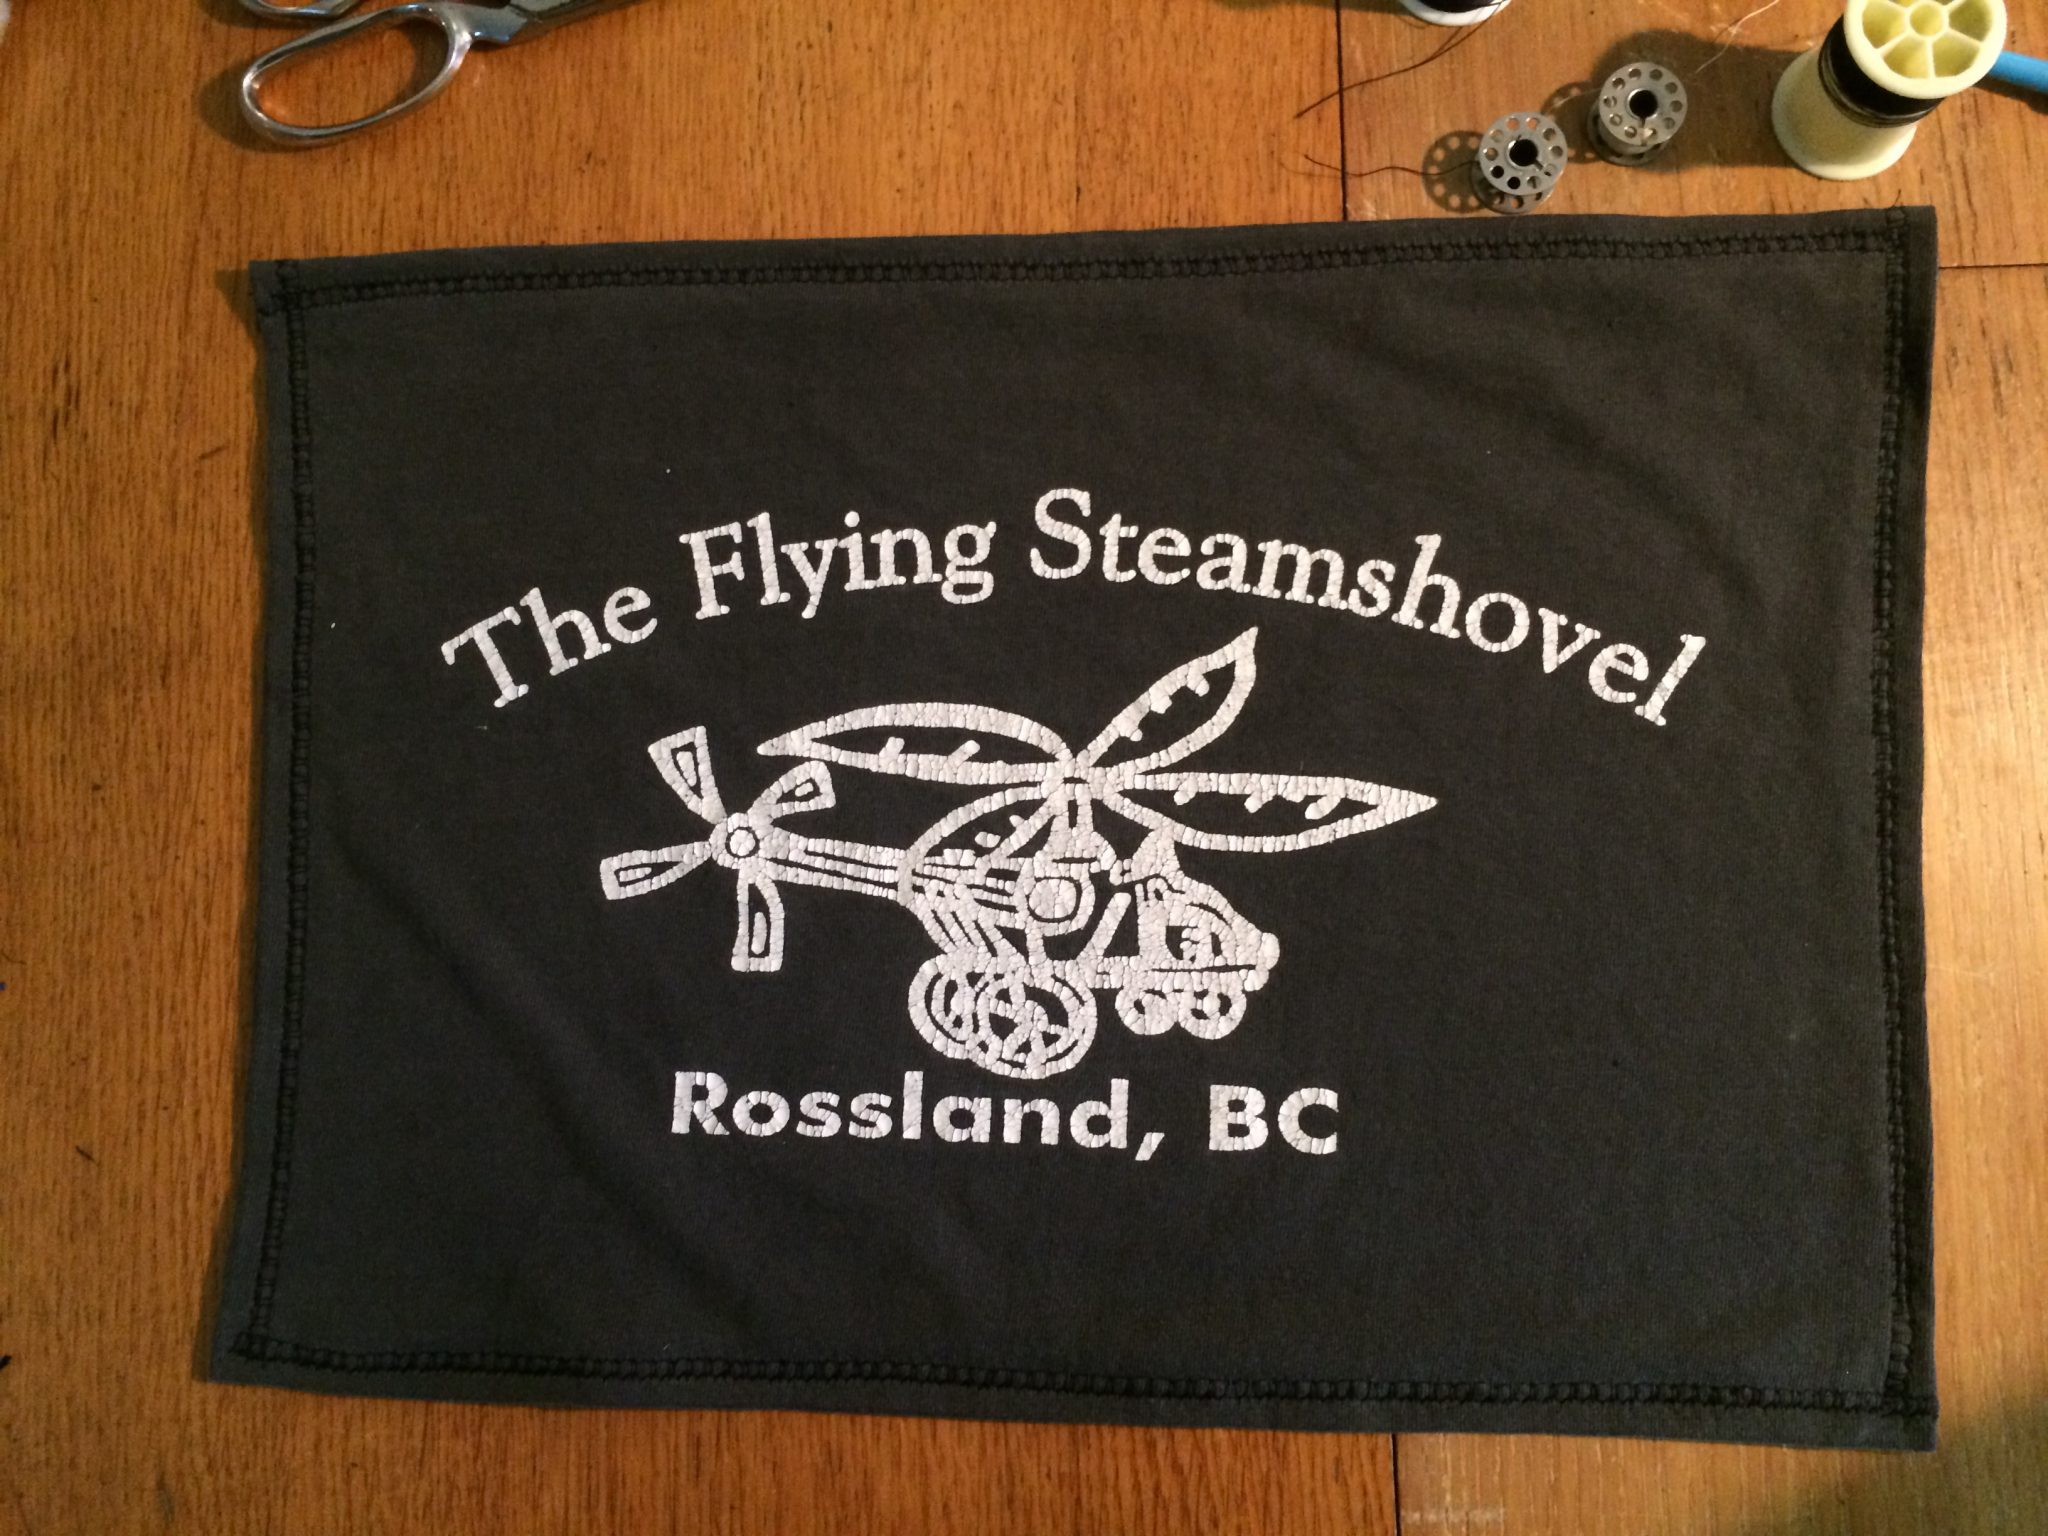
I could tell the this shirt – a memento from his time lived in the Kooteneys, featuring a logo from a favourite hang-out spot – was a somewhat of a treasure for him. So how could I use it to create something he would like for Christmas?
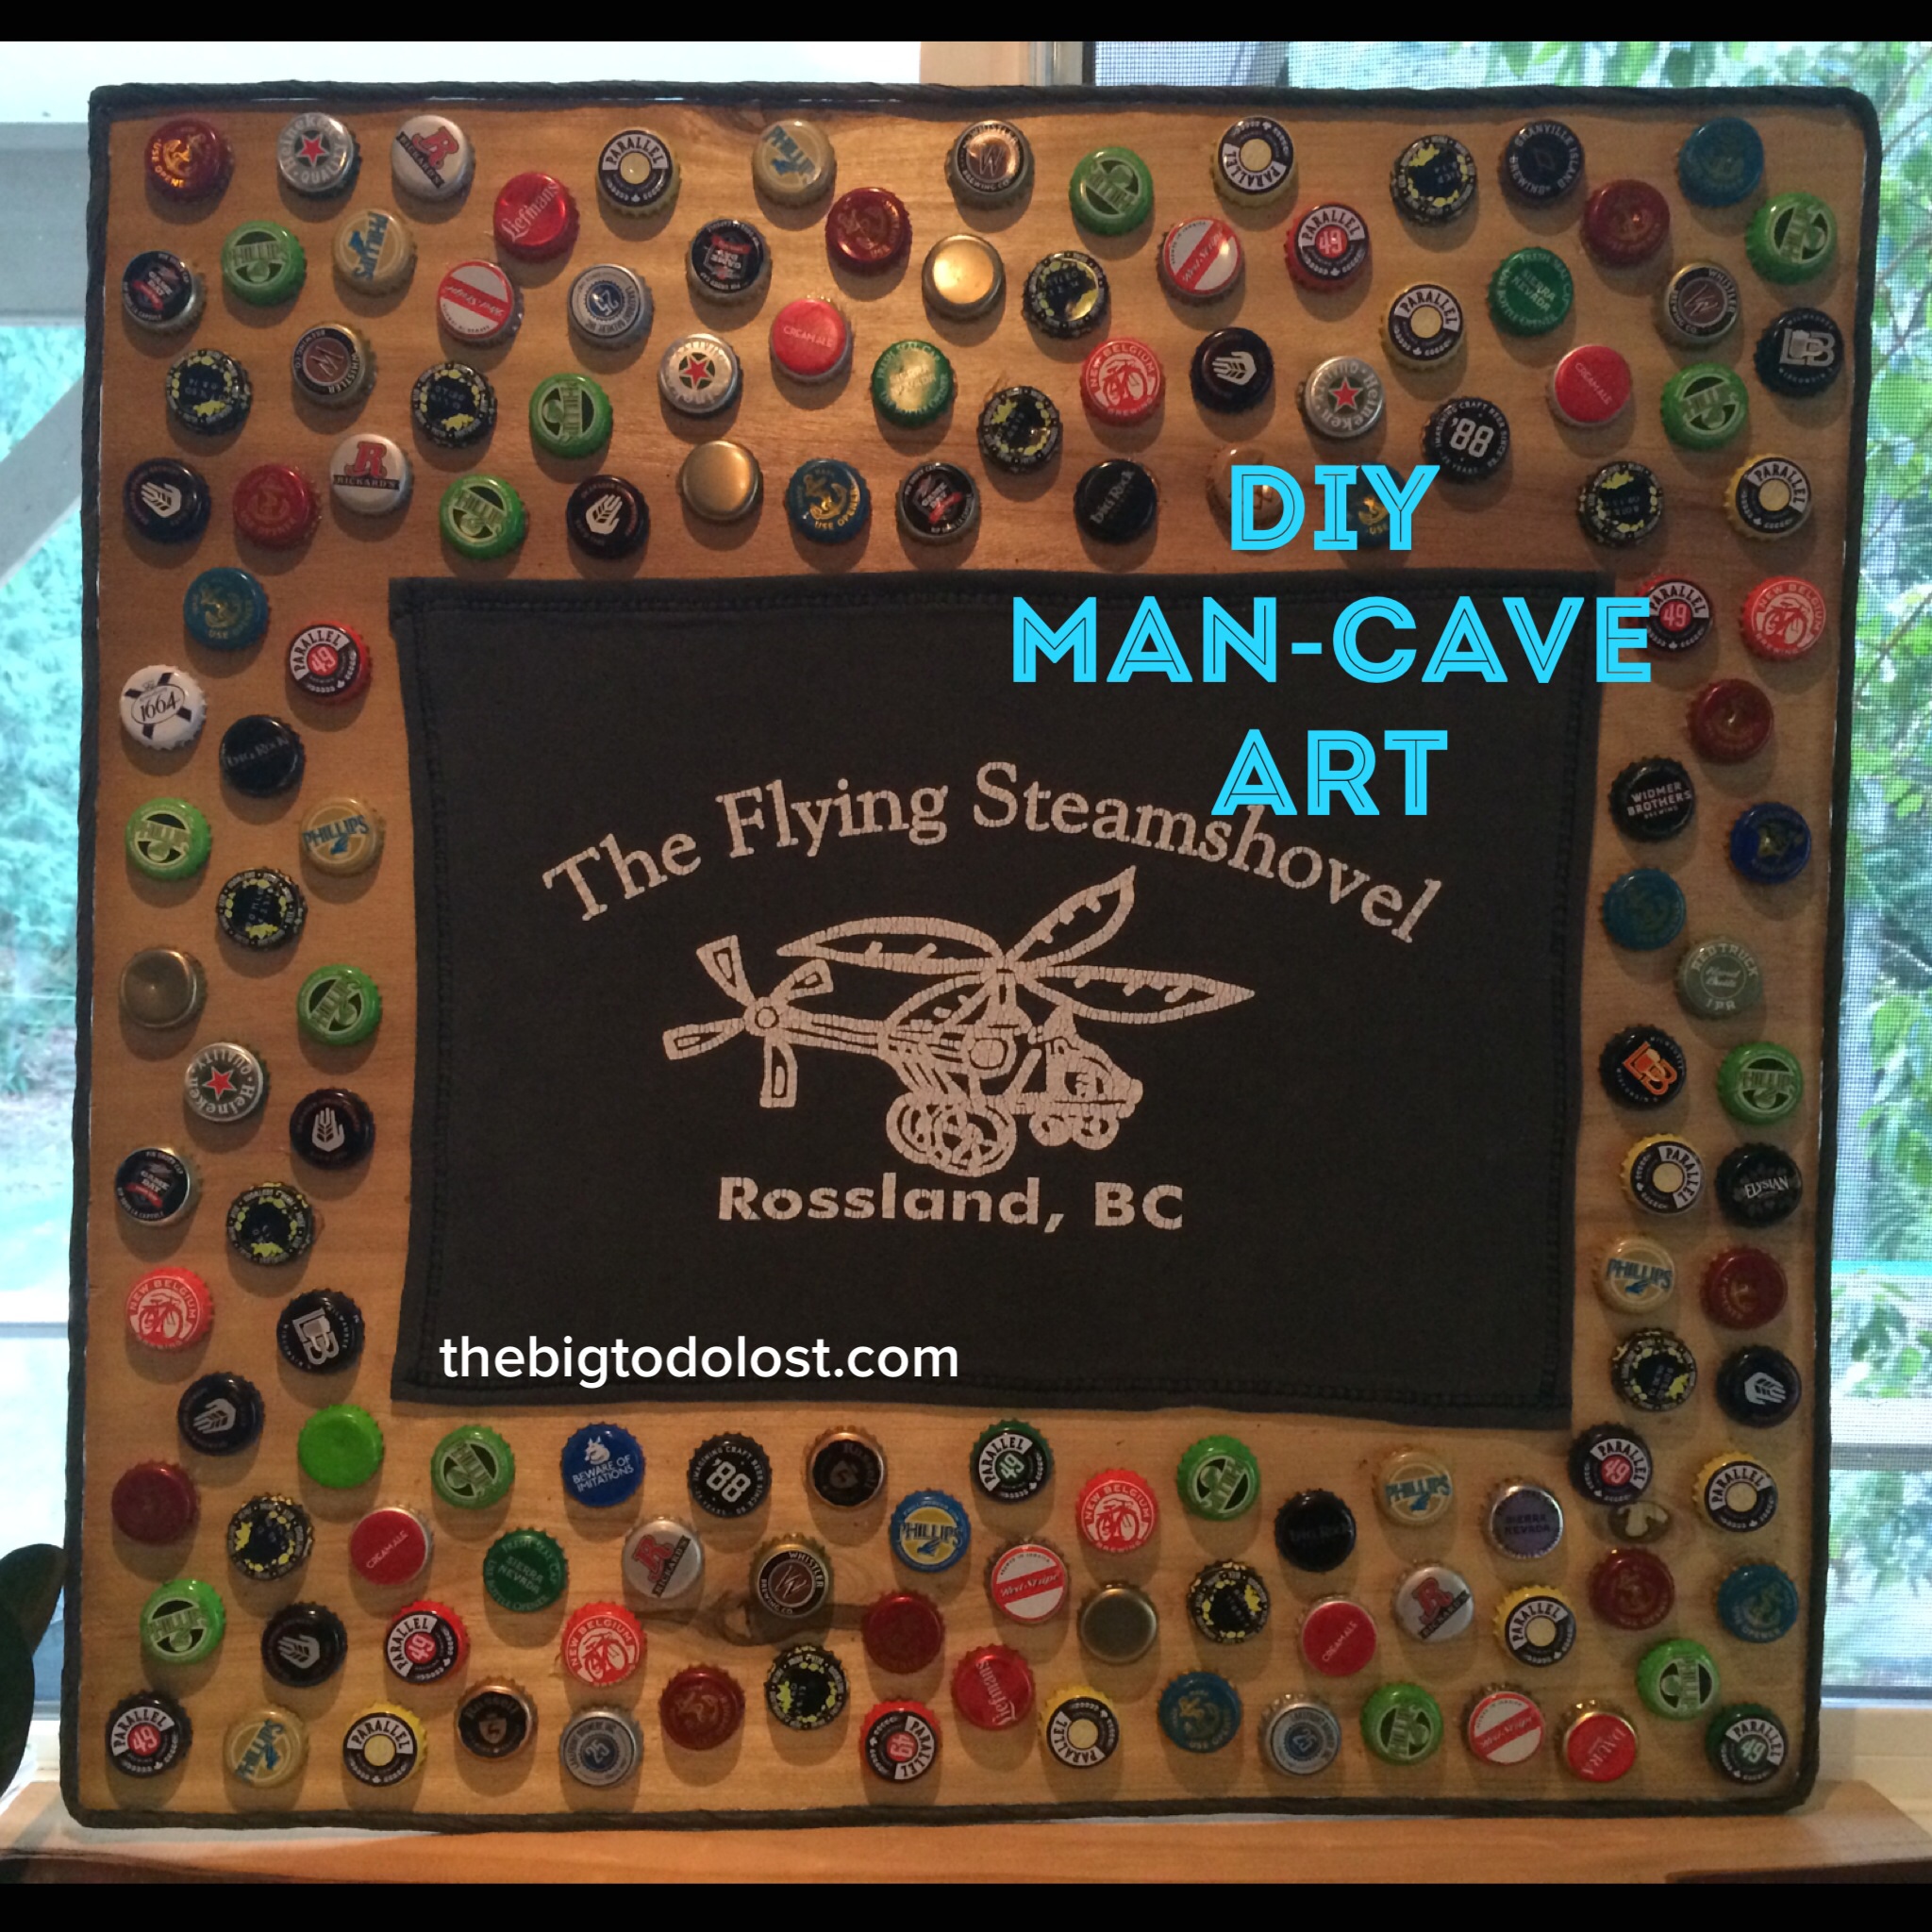
Looking on-line, I found some great ideas for DIY projects using old t-shirts, but most of them were fairly feminine, or just wouldn’t suit a use for my hubby. So I decided to make up my own art project out featuring the shirt, that he could hang in his workshop.
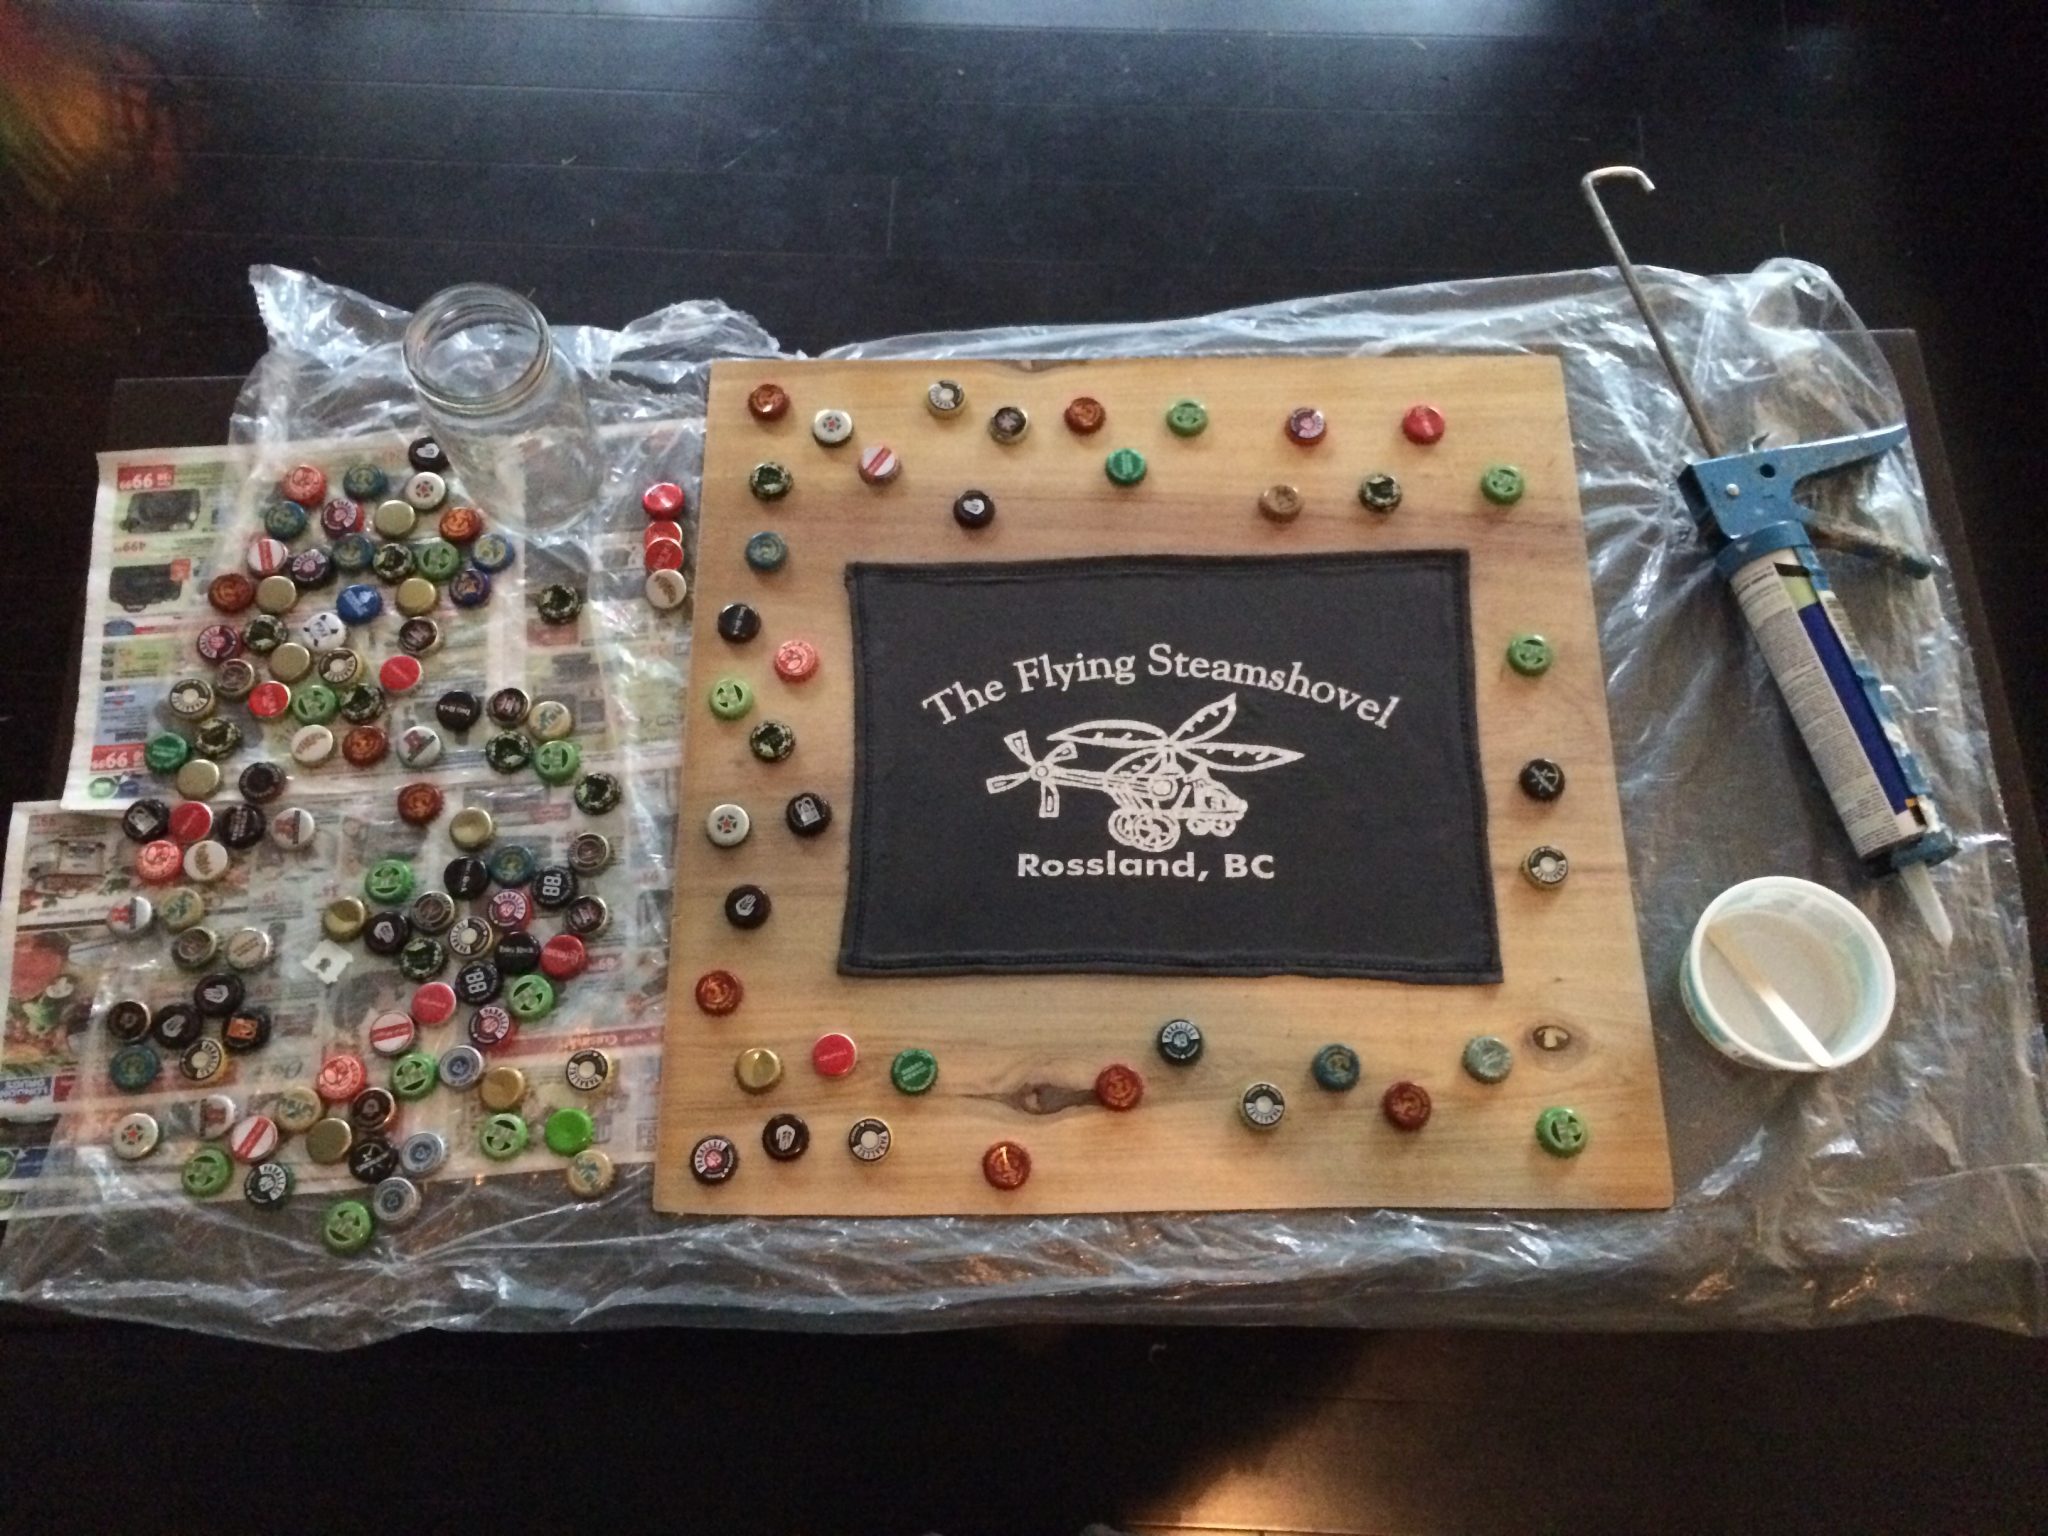
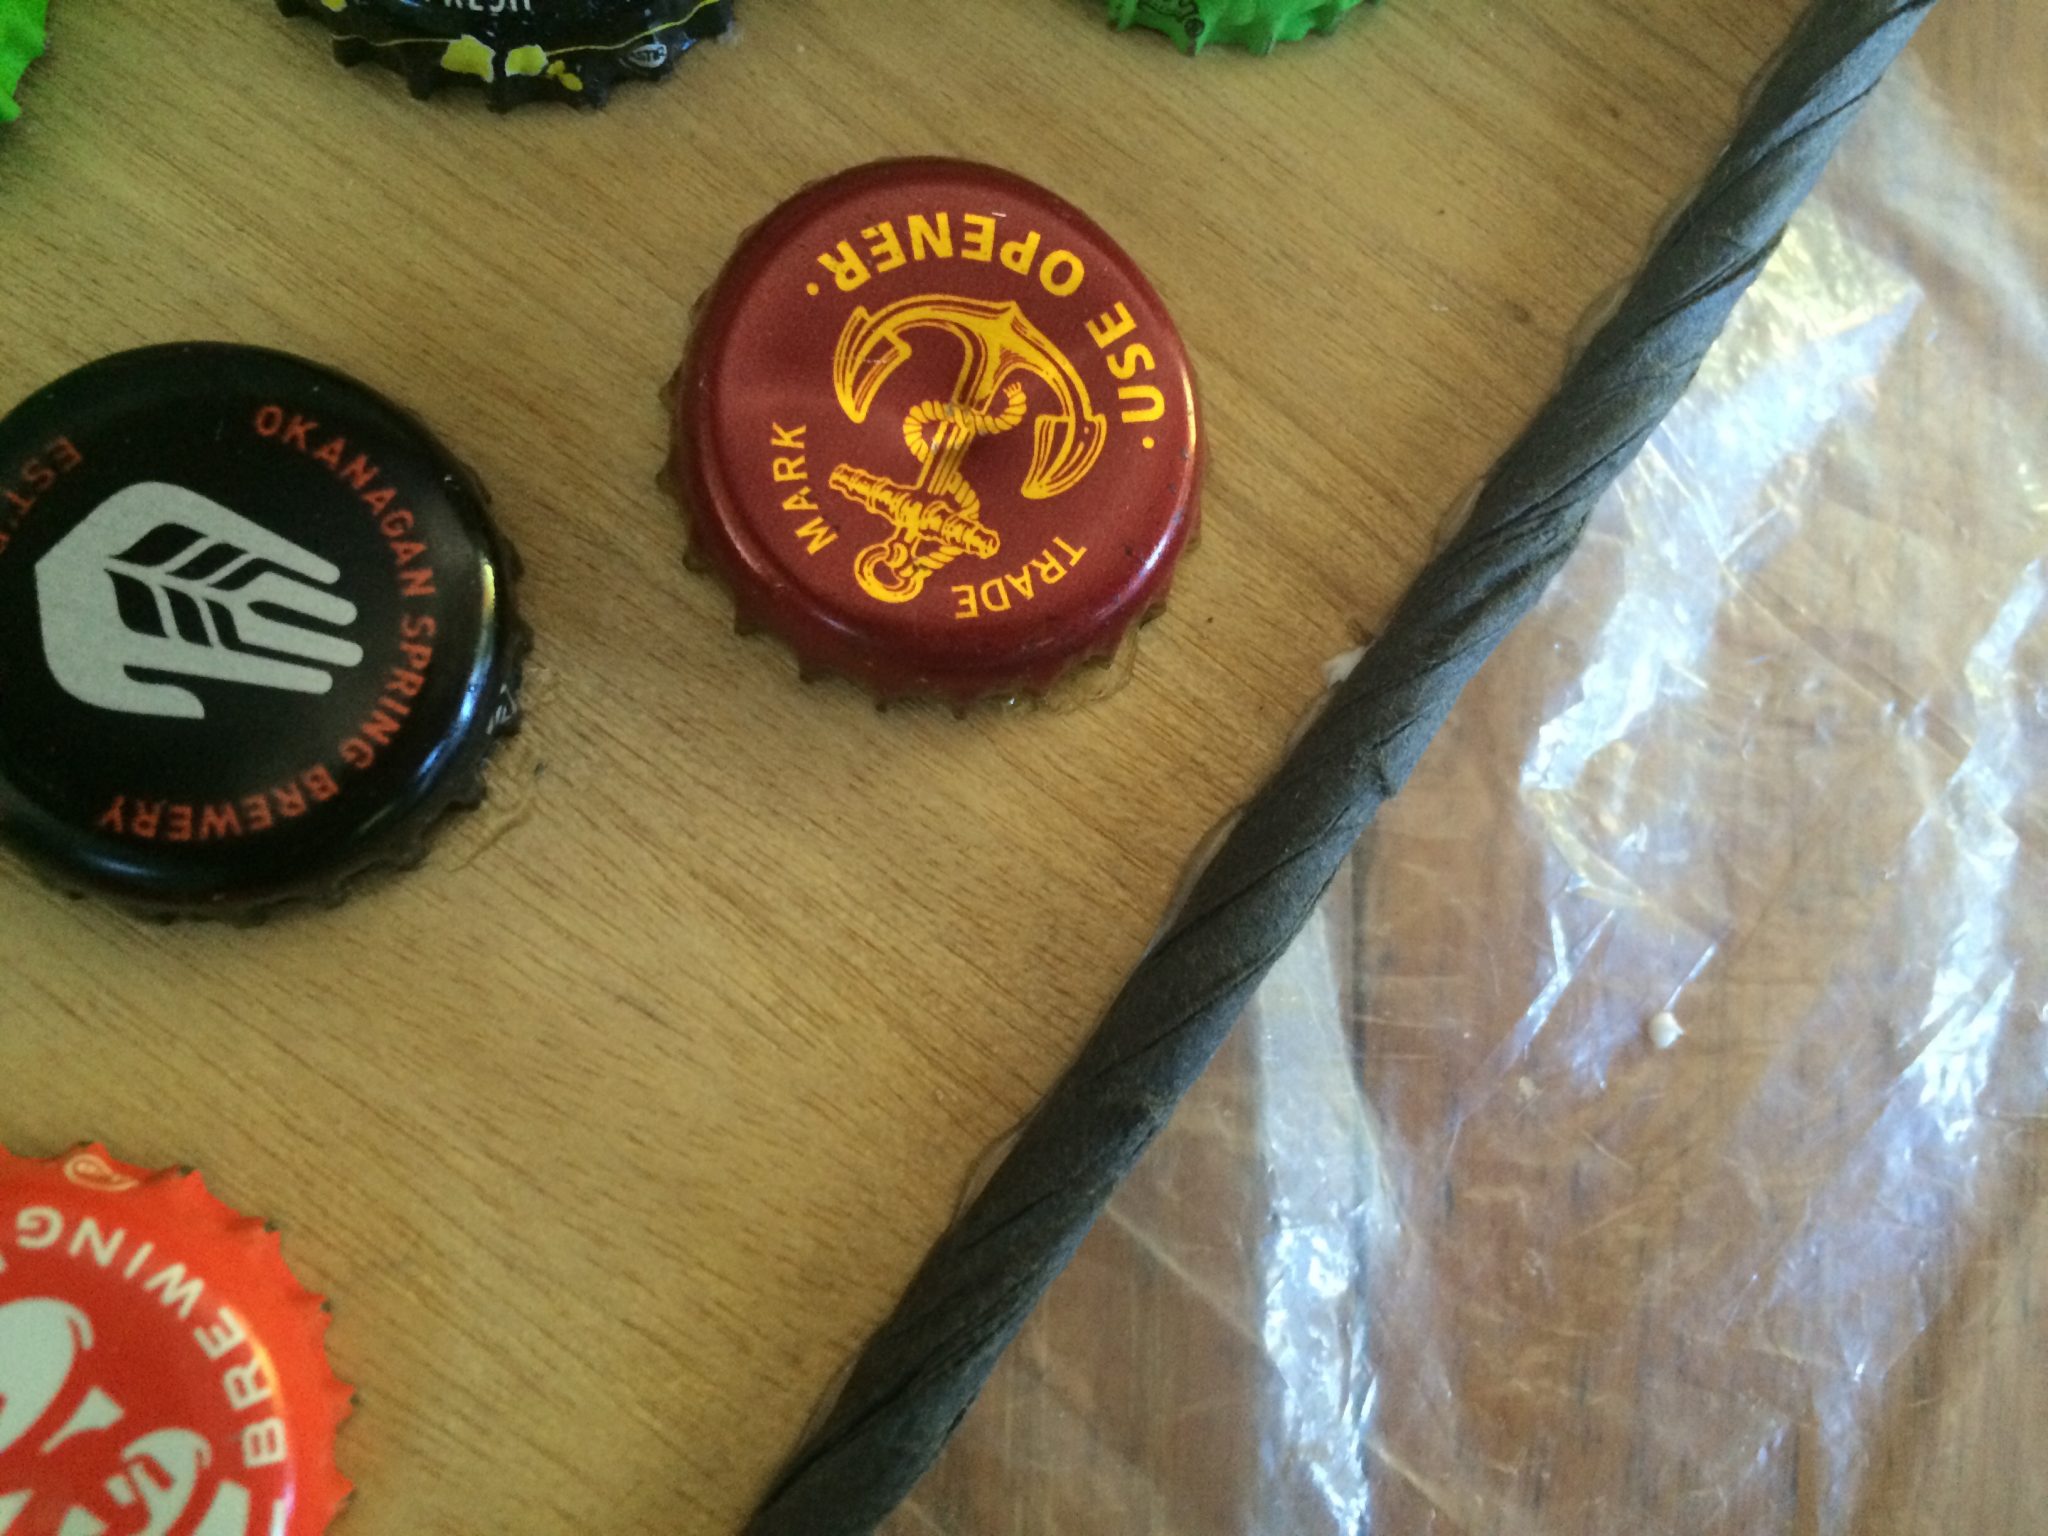
My hubby likes loves his craft beer. We’ve taken trips to beer festivals in Portland, and have stopped at numerous craft breweries so he could try a new brew. I’ve seen so many creative projects from bottle caps, so I’d been careful to save as many as I could from all the consumed bevvies for more than a year, and wanted to include them in this project.

For a base, I chose a thin, light-weight piece of wood, with some cool knots in it. My mother-in-law helped me to saw it to the size I wanted, then I stained it with a quick-drying spray varnish to bring out the natural grain of the wood.

To prepare the treasured t-shirt, I cut out the back square with the logo, folded over the edges and used a sewing machine to sew them in place. This left the square of fabric looking nicer and more finished.
To attach the fabric to the board, I used a spray glue that worked very easily to spray onto the board, then lay the t-shirt in place. Unfortunately, the glue sealed up pretty quickly with the fabric not quite stretched out on one side as much as I would have liked, much to the chagrin of my battle with perfection. Oh well. I let it go and moved on with the project. In hind-sight, I should have asked for another pair of hands to help me stretch and place the fabric. Next time.
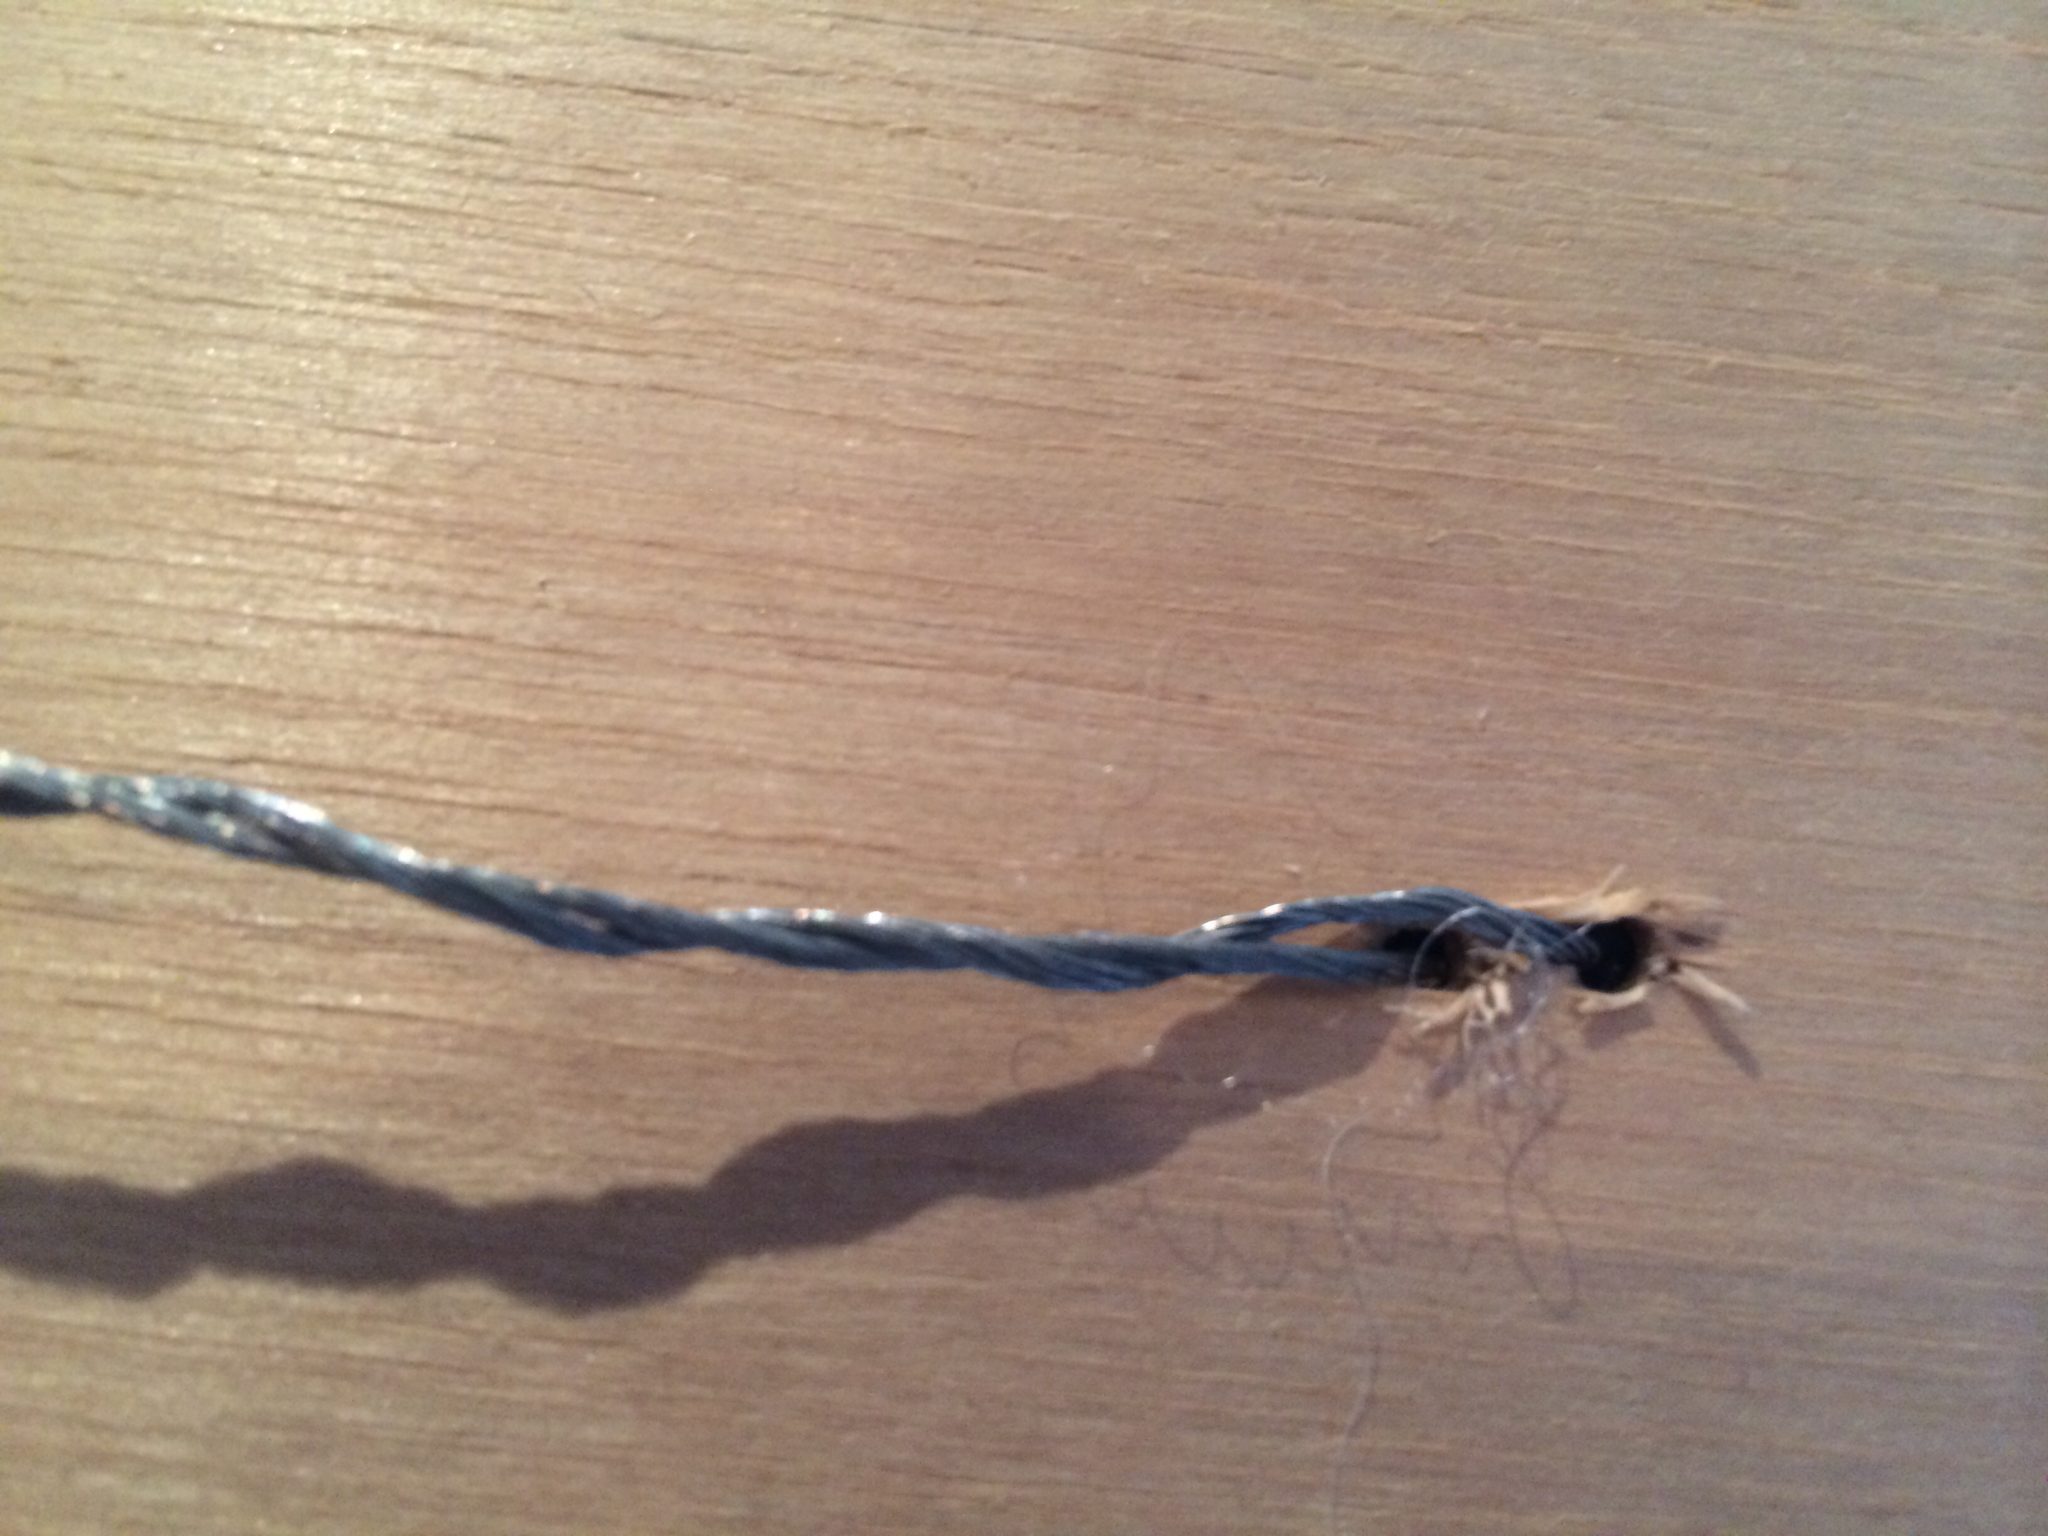
Wanting to include a way of hanging the board, I chose a strong metal twine, and marked where I wanted it to attach to the back of the board. Two small holes (just big enough to fit the twine through) were drilled close together at each of the two spots where I marked. I pushed the twine through from the back, then bent it to go back through from the front. I measured how long I wanted the hanger to be, adjusted the metal twine to suit, and secured it in place by repeatedly twisting the long ends around the hanging piece. I wasn’t worried about the holes and twine showing from the front, as I would cover up the two spots where the hanger was attached by placing bottle caps over them.

Now came the bottle caps. To attach these little gems to the board, surrounding the t-shirt logo, I used a caulking gun with clear ………… . At first this was tricky to get the hang of squeezing out enough goo to fill the cap, while hitting the “stop” trigger at the right point so as not to fill too much. I soon got the hang of it, though. This stuff was quite sticky, and not water-soluble, so if you use it I’d suggest having some paint-thinner on hand to wipe it off your fingers afterward. It WILL get on your fingers.
If I had had more time to work on this, I might have measured everything out to space the bottle caps closer together and create a nifty design out of them, but I’m happy with the way it turned out. Maybe you could try something like this if you give this project a go?
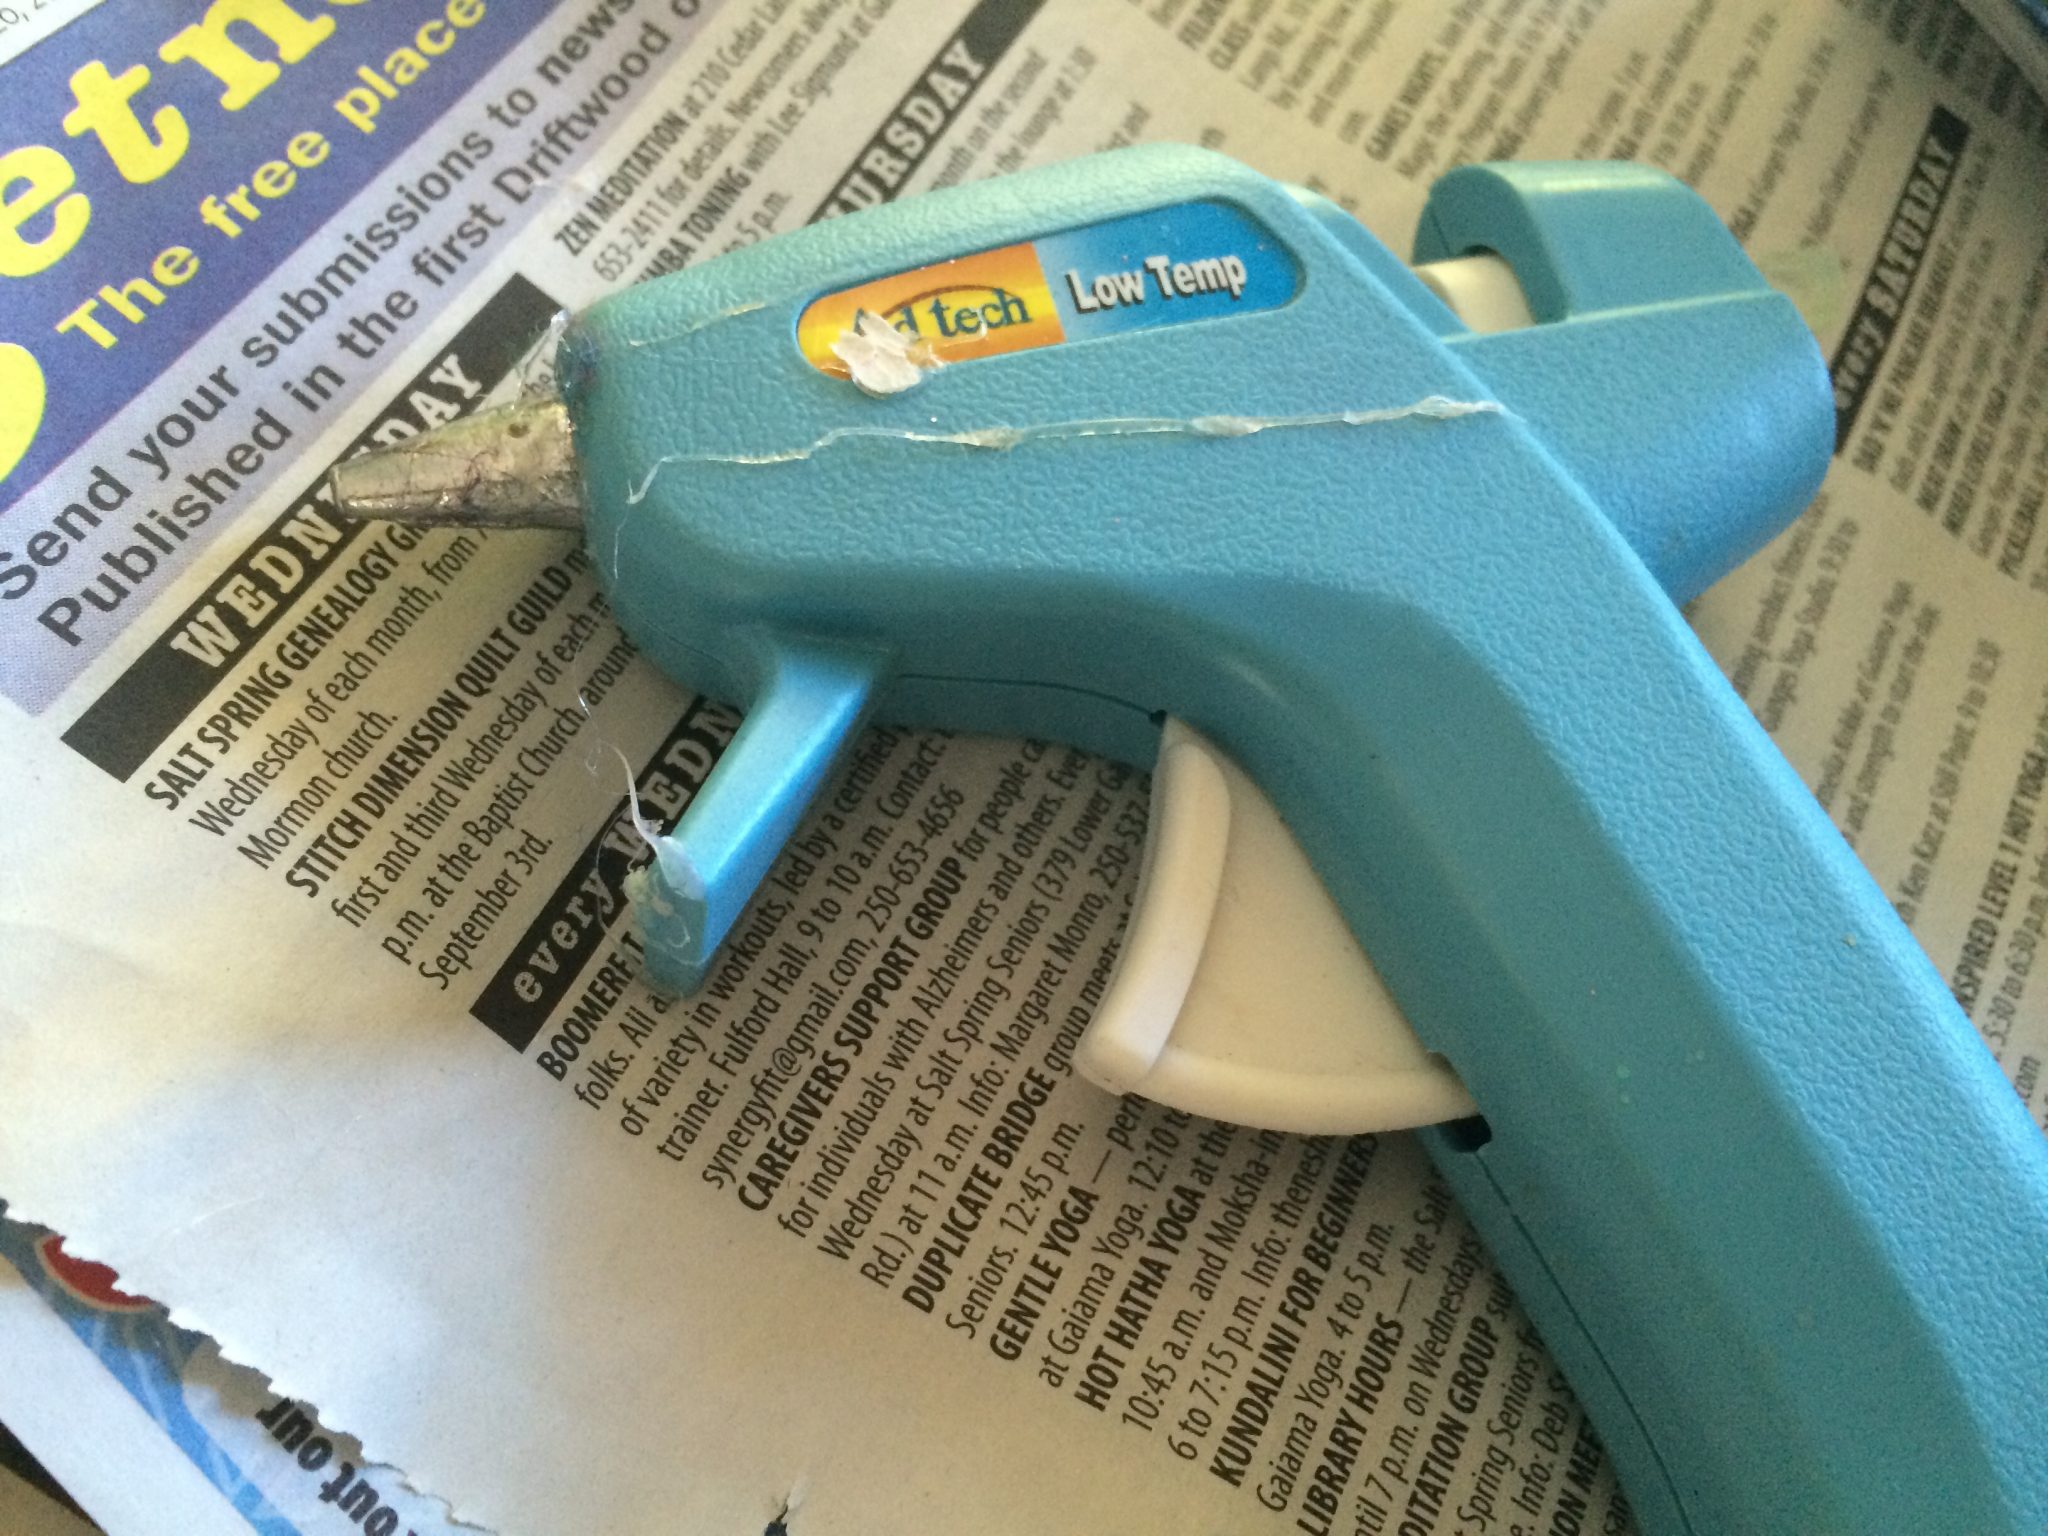
To finish off the edges of the board, framing the piece and making it look complete, I used a raffia-type twine, but didn’t unravel it at all to make it “fluffier”. I just used it straight up like a rope. To secure this around the edges, I used my trusty hot-glue gun, which worked perfectly and very quickly dried to keep the rope where I wanted it.
Although there are definitely some things I would like to have perfected, I’m pretty happy with the way it turned out when I was finished.

What kind of DIY projects have you made for the men in your life? Please share them in the comments below, and if you give this one a try, please let me know how it turned out and how you made it your own!
One thought on “DIY Gift for a Guy”
Pingback: Homemade Gifts for the Holiday - Three Chickens and a Boat