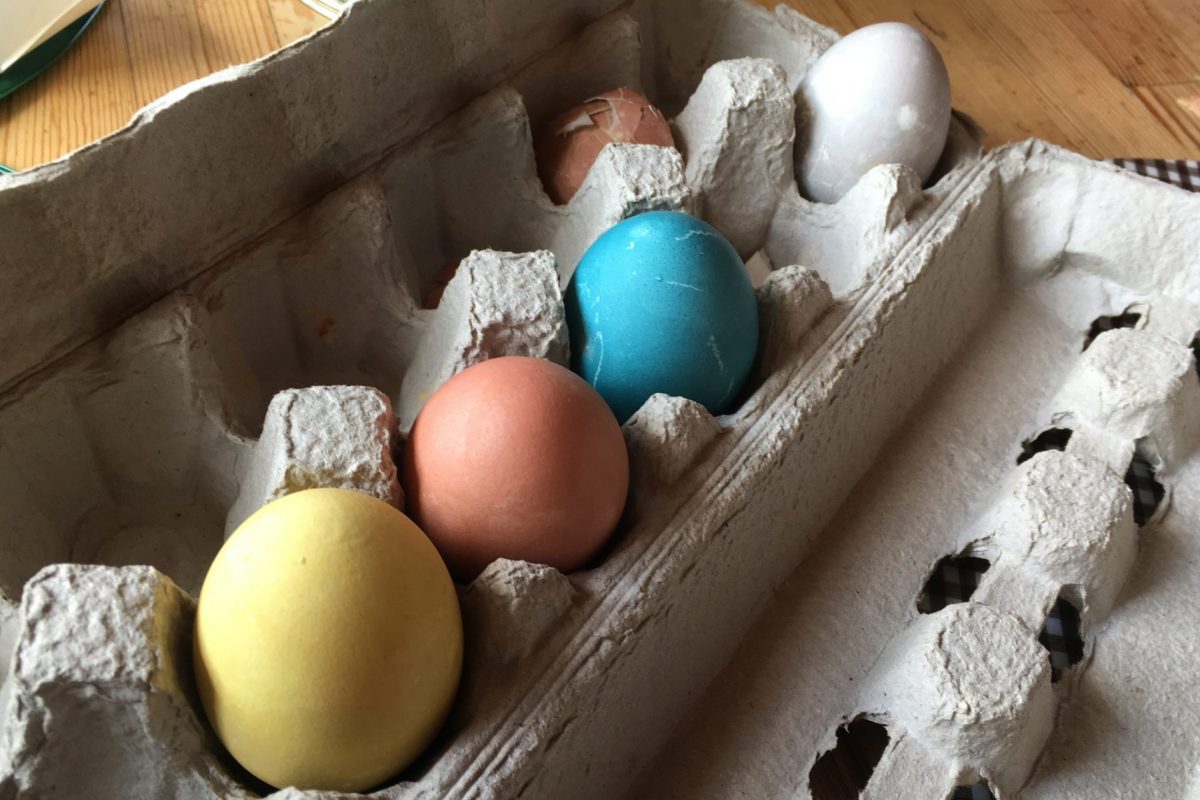
It’s just about that time again, when we turn to the tradition of dying eggs for Easter. I have tried a few different methods of dying Easter eggs with my little one and my preschool classes over the years, and thought I would take a few minutes to share with you what I have learned.
First of all, you could take this opportunity to dive into an egg-citing egg-sploration of making natural dyes from scratch and carefully creating various patterns and looks with leaves and flowers or silk materials. This is a worthwhile exploration that brings a lot of satisfaction, but undertaking this task can be a bit too much for some of us to do every year.
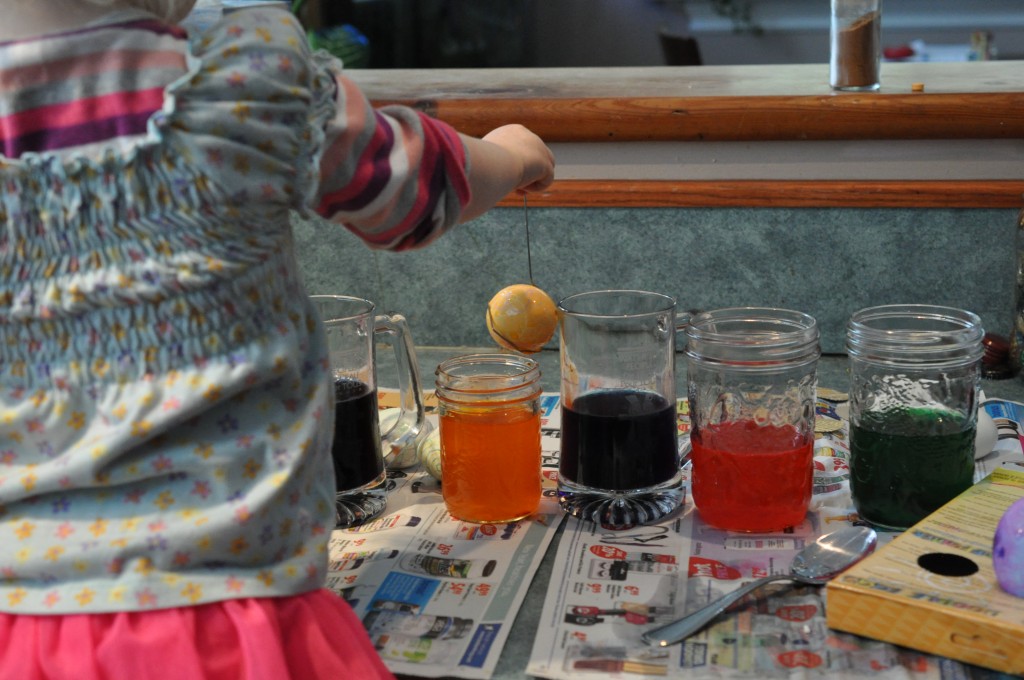
Of course, you can always buy the all-in-one quick DIY Easter egg dying kits from the store for a quick fix on this cultural tradition. We have done this before and it was well-received by my helpful toddler, yielding some pleasantly colourful results.
However, there are still some of us that at times would prefer a more natural experience of dying, without the artificial dyes, but also without the time consuming task of peeling and cutting and boiling and straining our own dyes.
Here I have assembled for you a list of various natural dyes that you likely already have on hand, as well as a couple of egg-dying activities using food dye to create some cool results easily. In my search for simplicity, I’ve learned less stress leaves time for more enjoyment and often the same level of awesomeness.
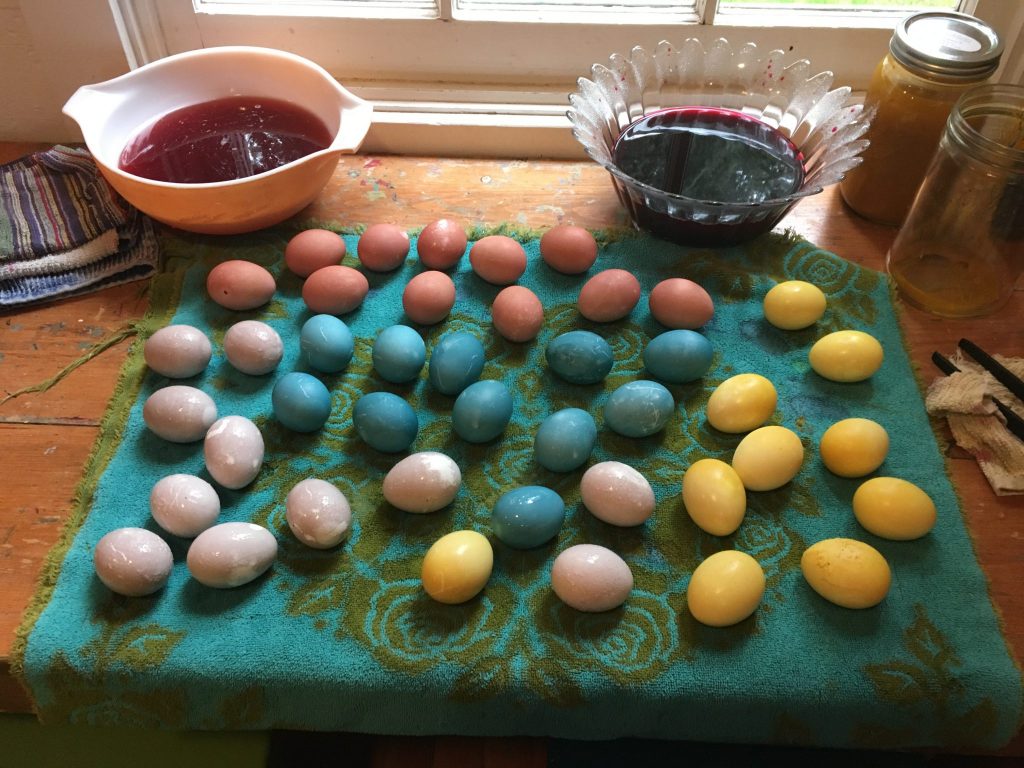
First of all, making dyes typically involves a process of boiling to bring out the colours. However, you can still get some great tints with the ingredients below without the boiling method, so it’s worth trying the simple way if you haven’t got the time to go the full measure. Also, if you plan to eat the eggs after they’re dyed, you’ll want to hard-boil them before dying. The longer you can leave them in the dye the better, so if you’re worried about the eggs going bad sitting out, try to make room in your fridge for a few large mason jars where you can keep the eggs cold in the dyes.
Coffee – Have some old coffee sitting there from this morning that you didn’t get to drink hot again? Don’t let it go to waste! Pop some eggs in there and see what happens!
Grape juice – If you use real, strong grape juice, you’ll get a beautiful purple colour. If you end up buying one of the typical “grape juices” for sale in the grocery store, which is often mostly apple juice when you look at the label, your eggs will end up more of a grey-ish lavender.
Blueberries – If you have some frozen or fresh blueberries around, squash them up (let them melt if frozen, first) and let your eggs set into a pretty blue colour. Of course, if you do use the proper boiling method, your eggs can end up eggs-travagantly blue and speckled, but you’re sure to get some tinting even if all you do is put eggs in mushy berries. (Of course, if there is one natural dye I’d recommend you go the full prep and boiling route on, it would be red cabbage. It’s amazing to watch the reddish-purple dye turn your eggs into a stunning blue colour!)
Wine – It’s so sad to see wine be wasted. If I let an open bottle go more than a couple days before drinking it, I save the bottle in the pantry for cooking with. These can come in quite handy if you have some in there close to Easter egg dying time!
Beet juice – If you love pickled beets, as I do, you may already have a jar of bright beet juice in your fridge. Munch up some beets and use some of the juice in the jar to give your eggs a beautiful pink/red colour.
Turmeric – My spice cupboard has a lot of random powdered spices that I rarely use. Turmeric is one of them, and when mixed with hot water it can create a very bright yellow dye.
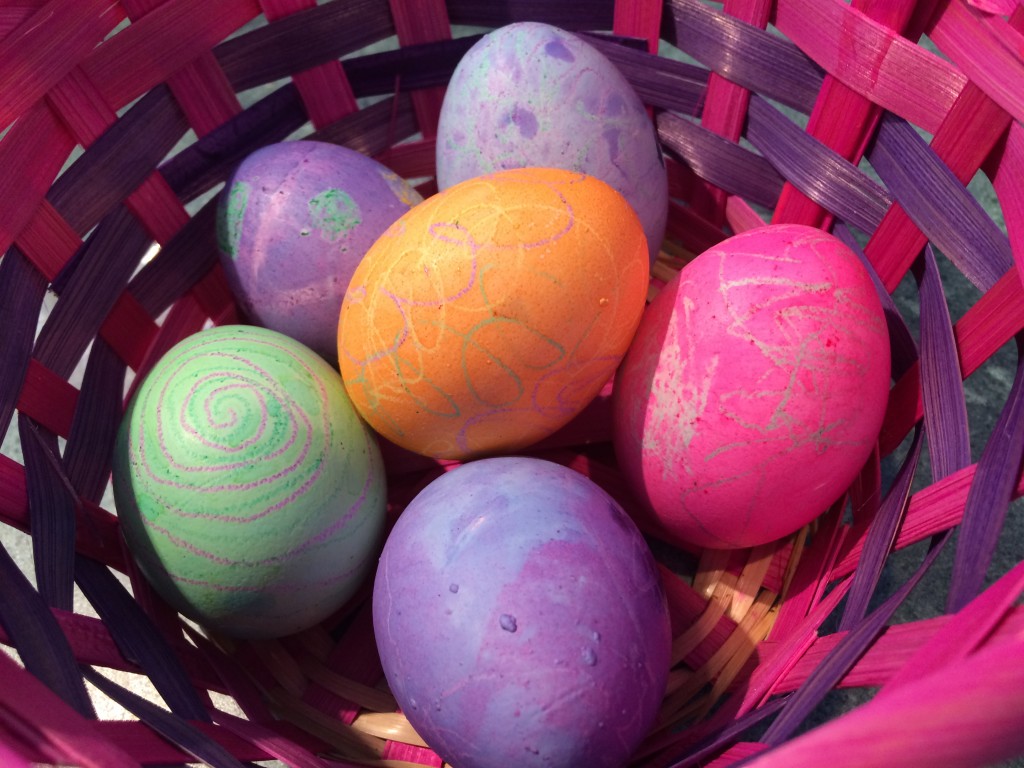
This method for using shaving cream to create interesting marbled Easter eggs looks so neat, and super easy!
I’m also keen on trying this rice-shaking method of dying Easter eggs that results in a cool “natural” speckled look.
If you have a toddler around, another tradition you might want to take part in is the egg hunt, but without all the sugar that usually comes with Easter treats. Here’s an alternative way to hide special treats for your little ones on Easter that they can still enjoy healthy nibbling when they find their eggs.
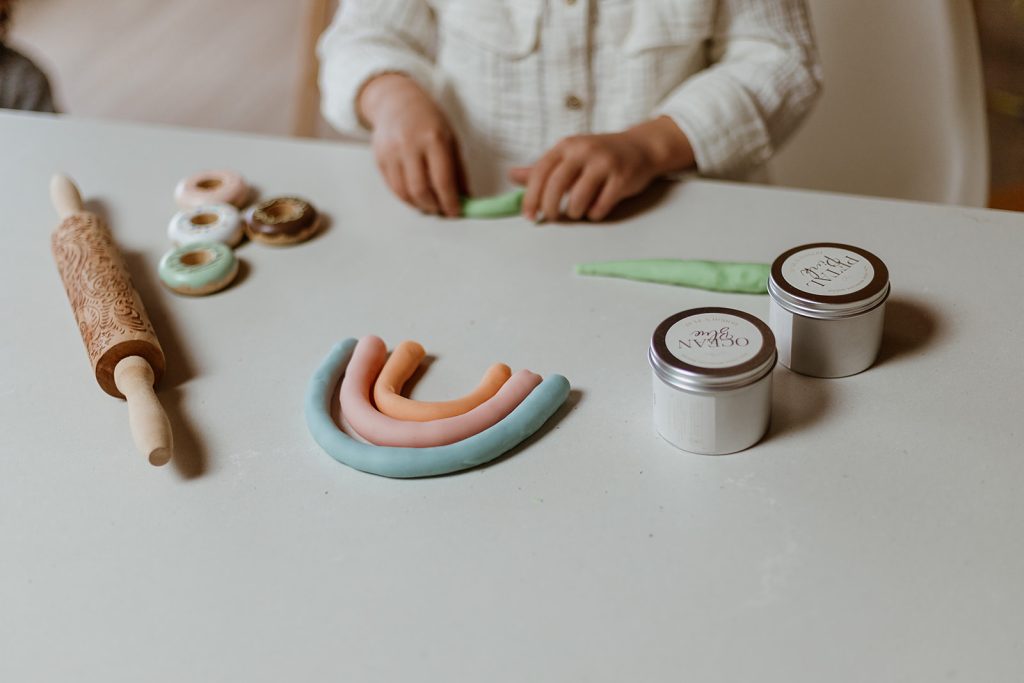
If you live in Canada you can also order a natural and sugar-free Easter basket from Dough n’ Play, my very own natural modeling dough and wood toys business. Lovingly whipped up modeling dough that is non-toxic and and dyed with natural bakery-grade food dyes, accompanied by wooden eggs and accessories that are sure to make your Easter magical and wholesome.
Will you be dying Easter eggs this year? How will you create your masterpieces? Please share in the comments below if you have any personal experiences or ideas for other easy natural dyes for Easter eggs.

Like what you read? Might I interest you in signing up here for my short and sweet “What’s New On The Big To-Do List?” weekly email? You can also follow along on my social channels – buttons in the sidebar (below the comments if you’re on a mobile device).
Thanks for reading! 🙂